Connecting Azure to PipeOps
Overview
This documentation will guide you through the process of connecting your Azure account to PipeOps. By following these steps, you’ll be able to create an Azure server on PipeOps and deploy projects on the server directly from your PipeOps dashboard.
Steps to follow
To connect your Azure account to PipeOps, follow these steps:
-
Ensure you have your Azure credentials. If not, you can follow the guide here.
-
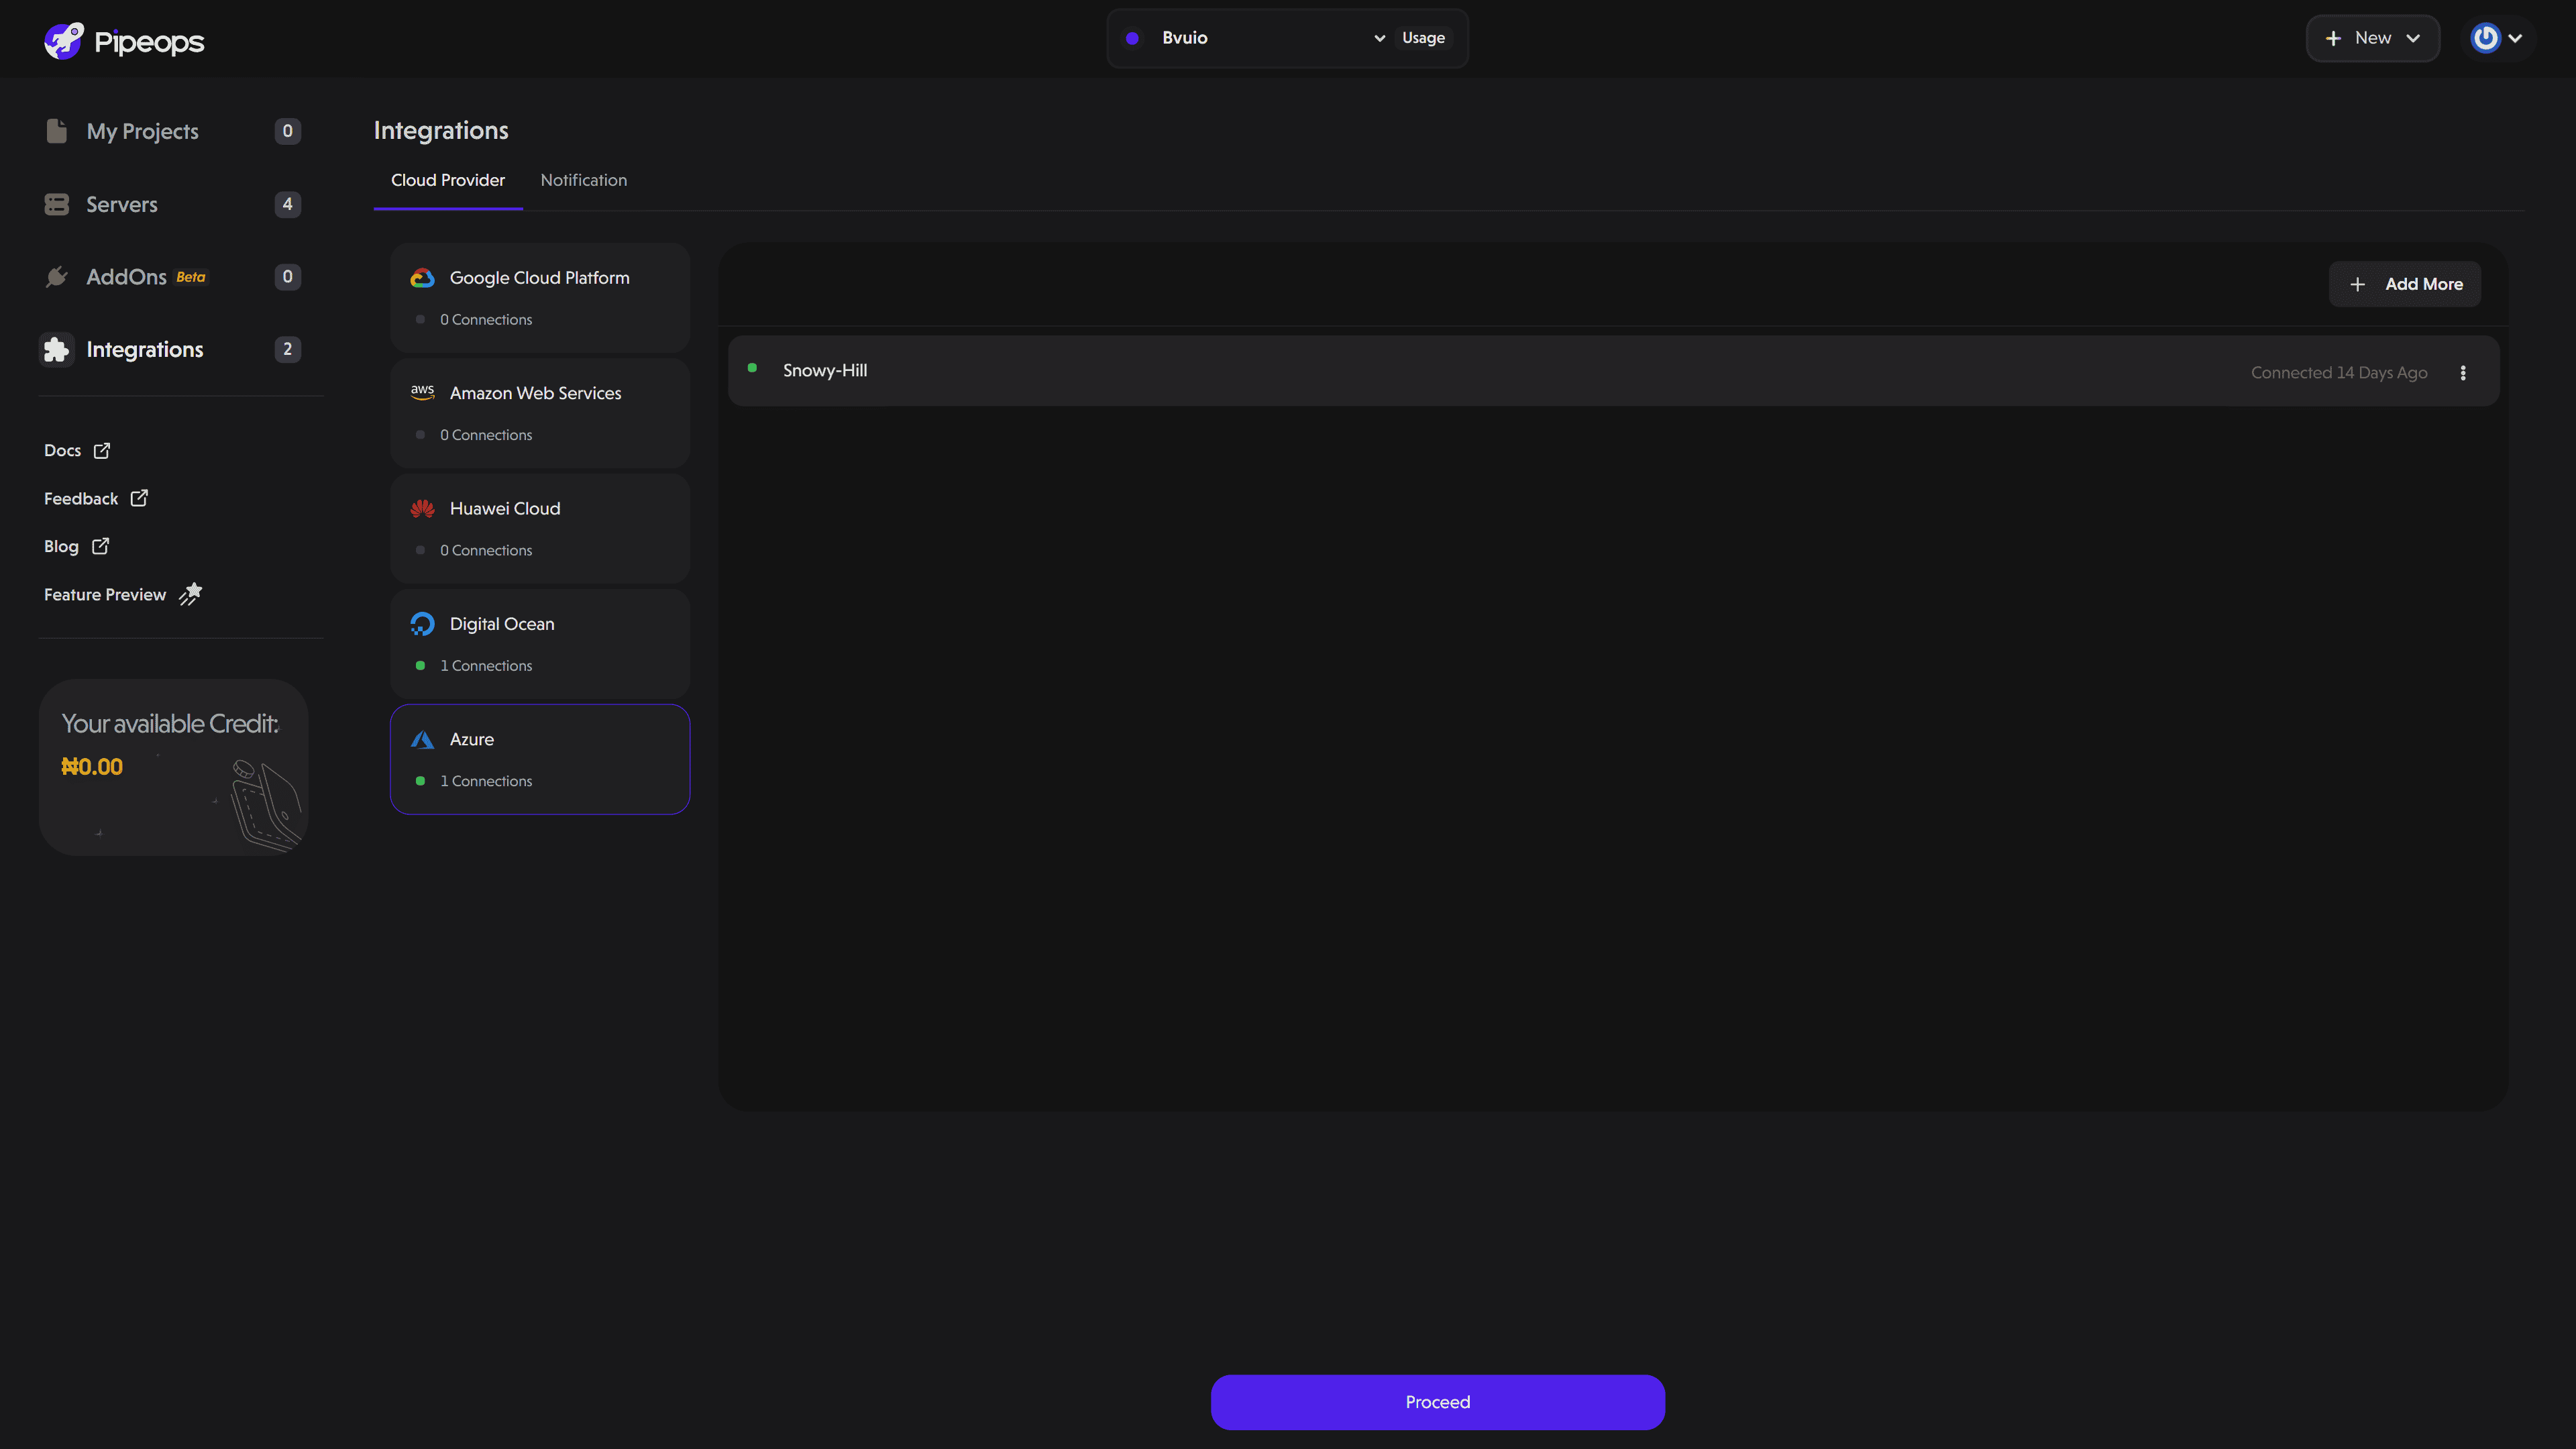
On the left menu, click on the "Integrations" tab.
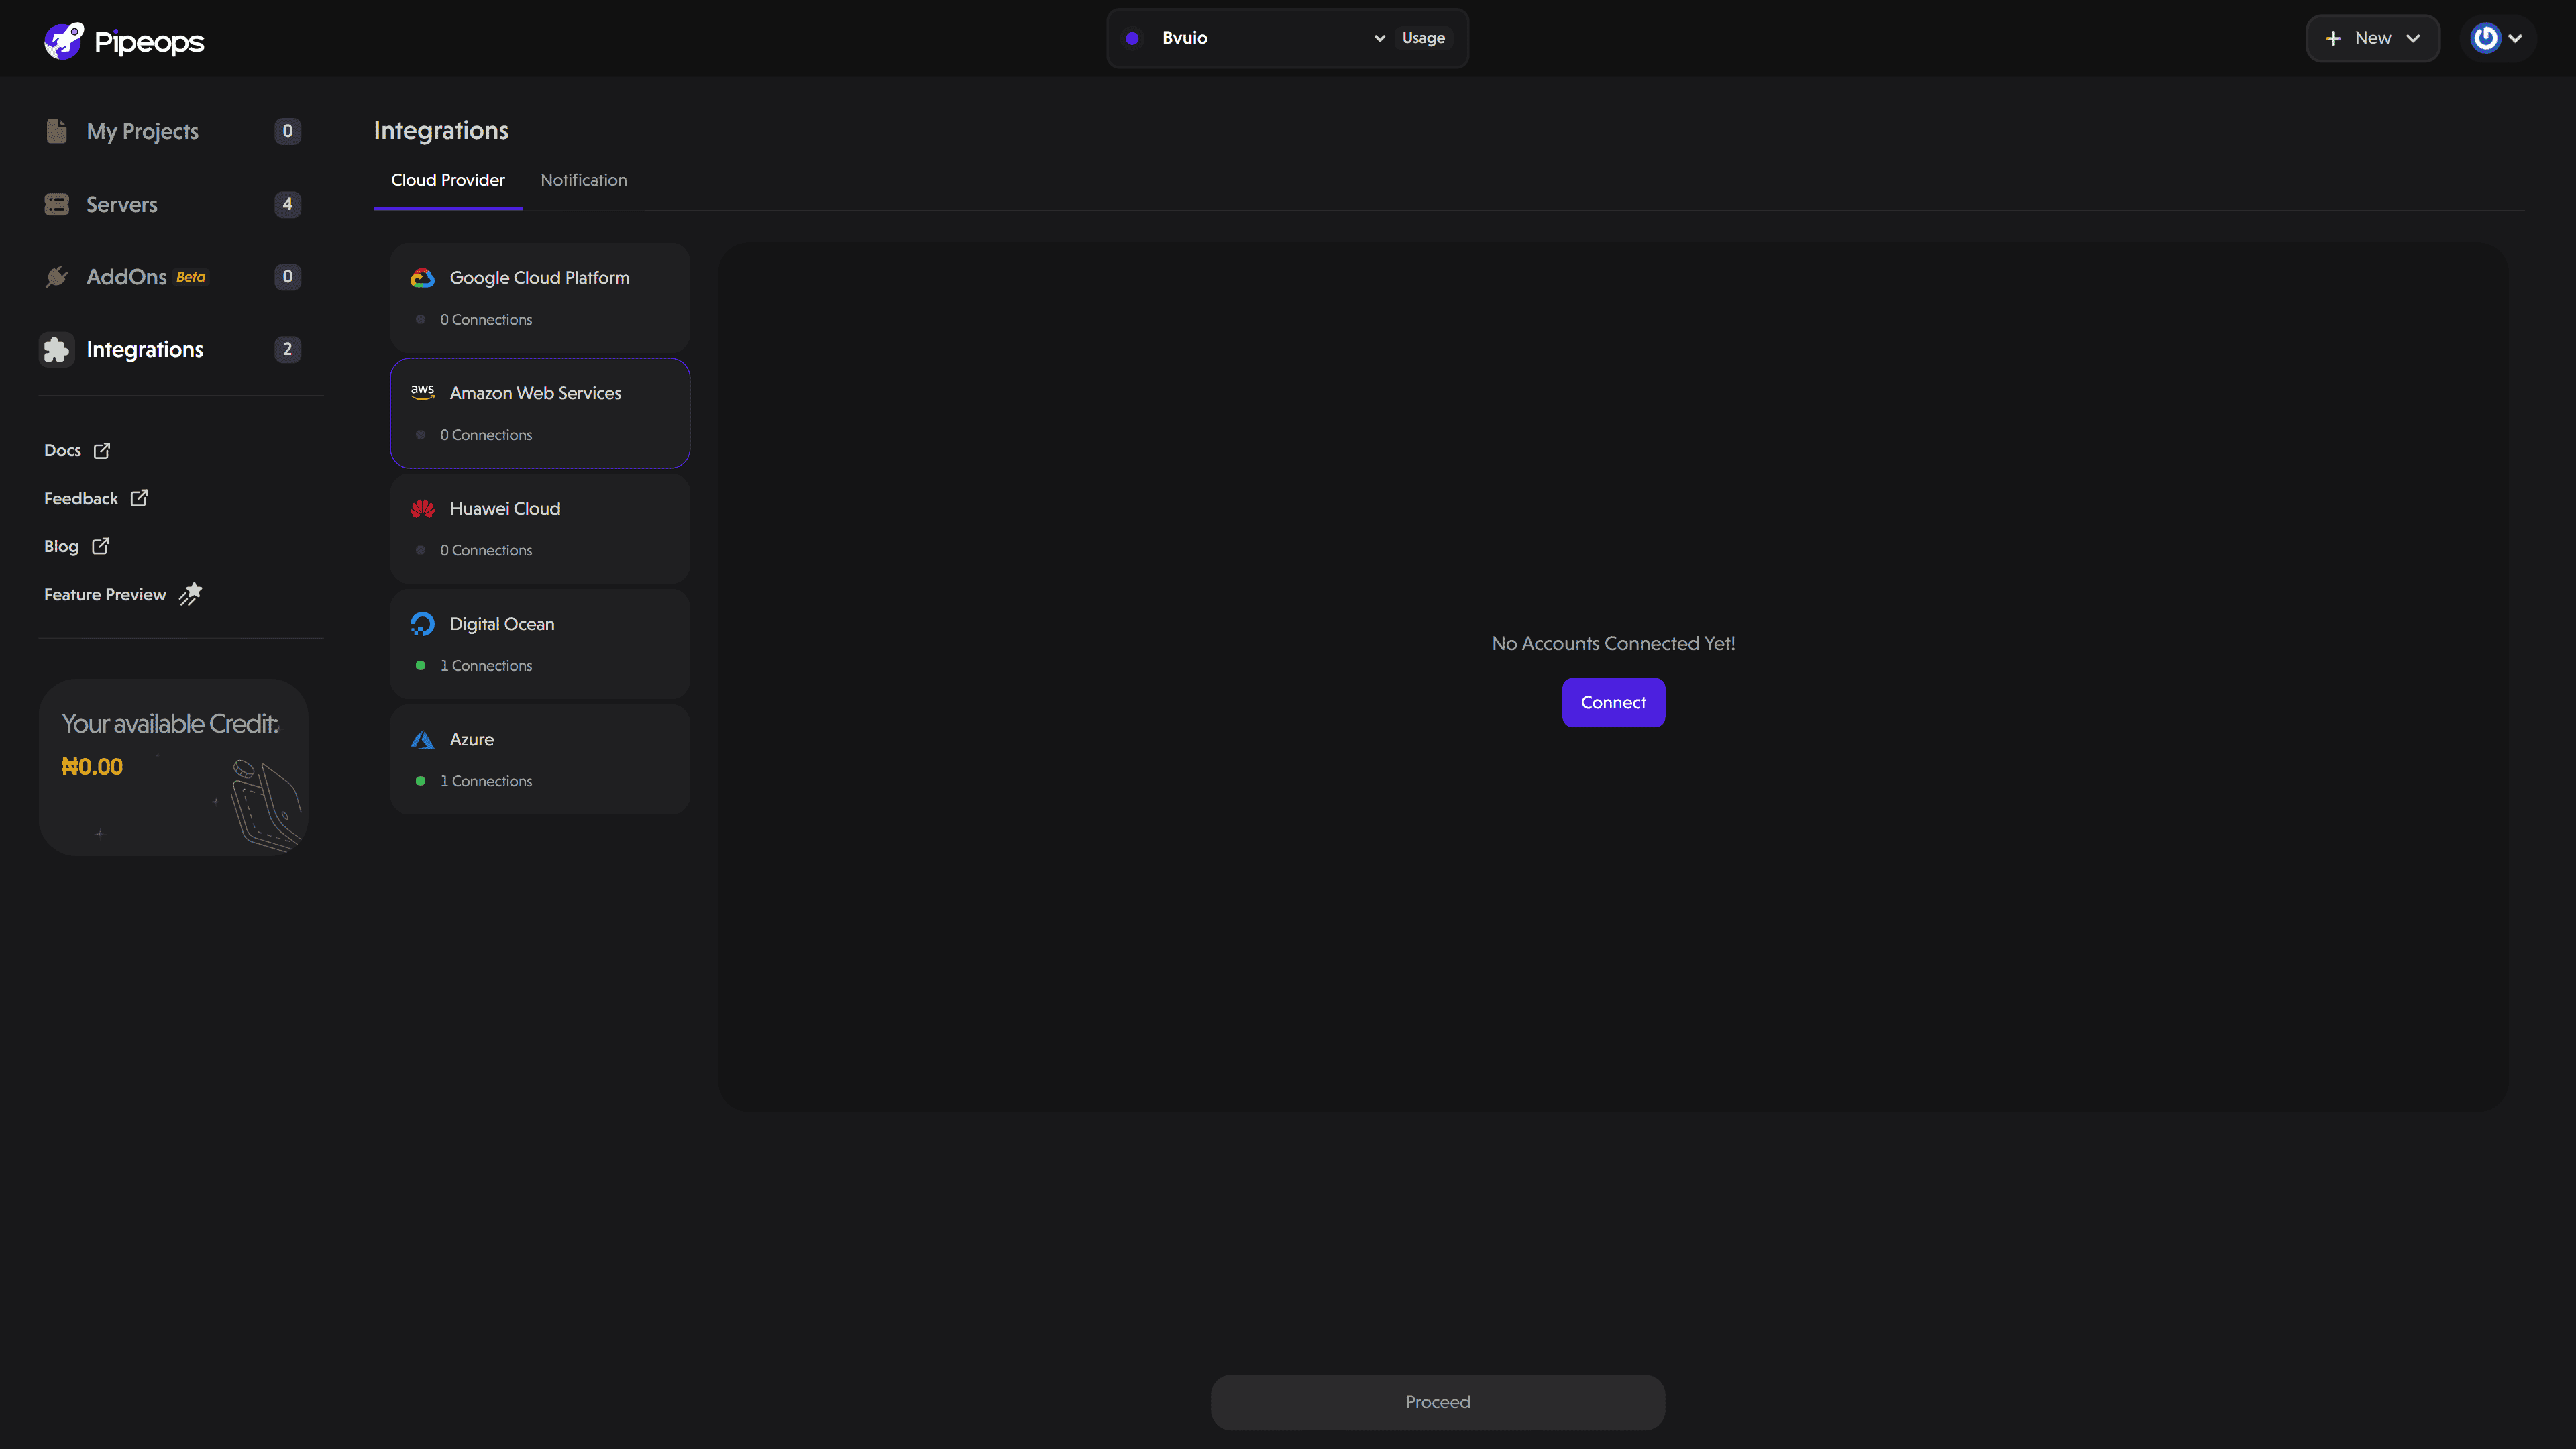
- Select "Azure" from the list of cloud providers and click the "Connect" button.
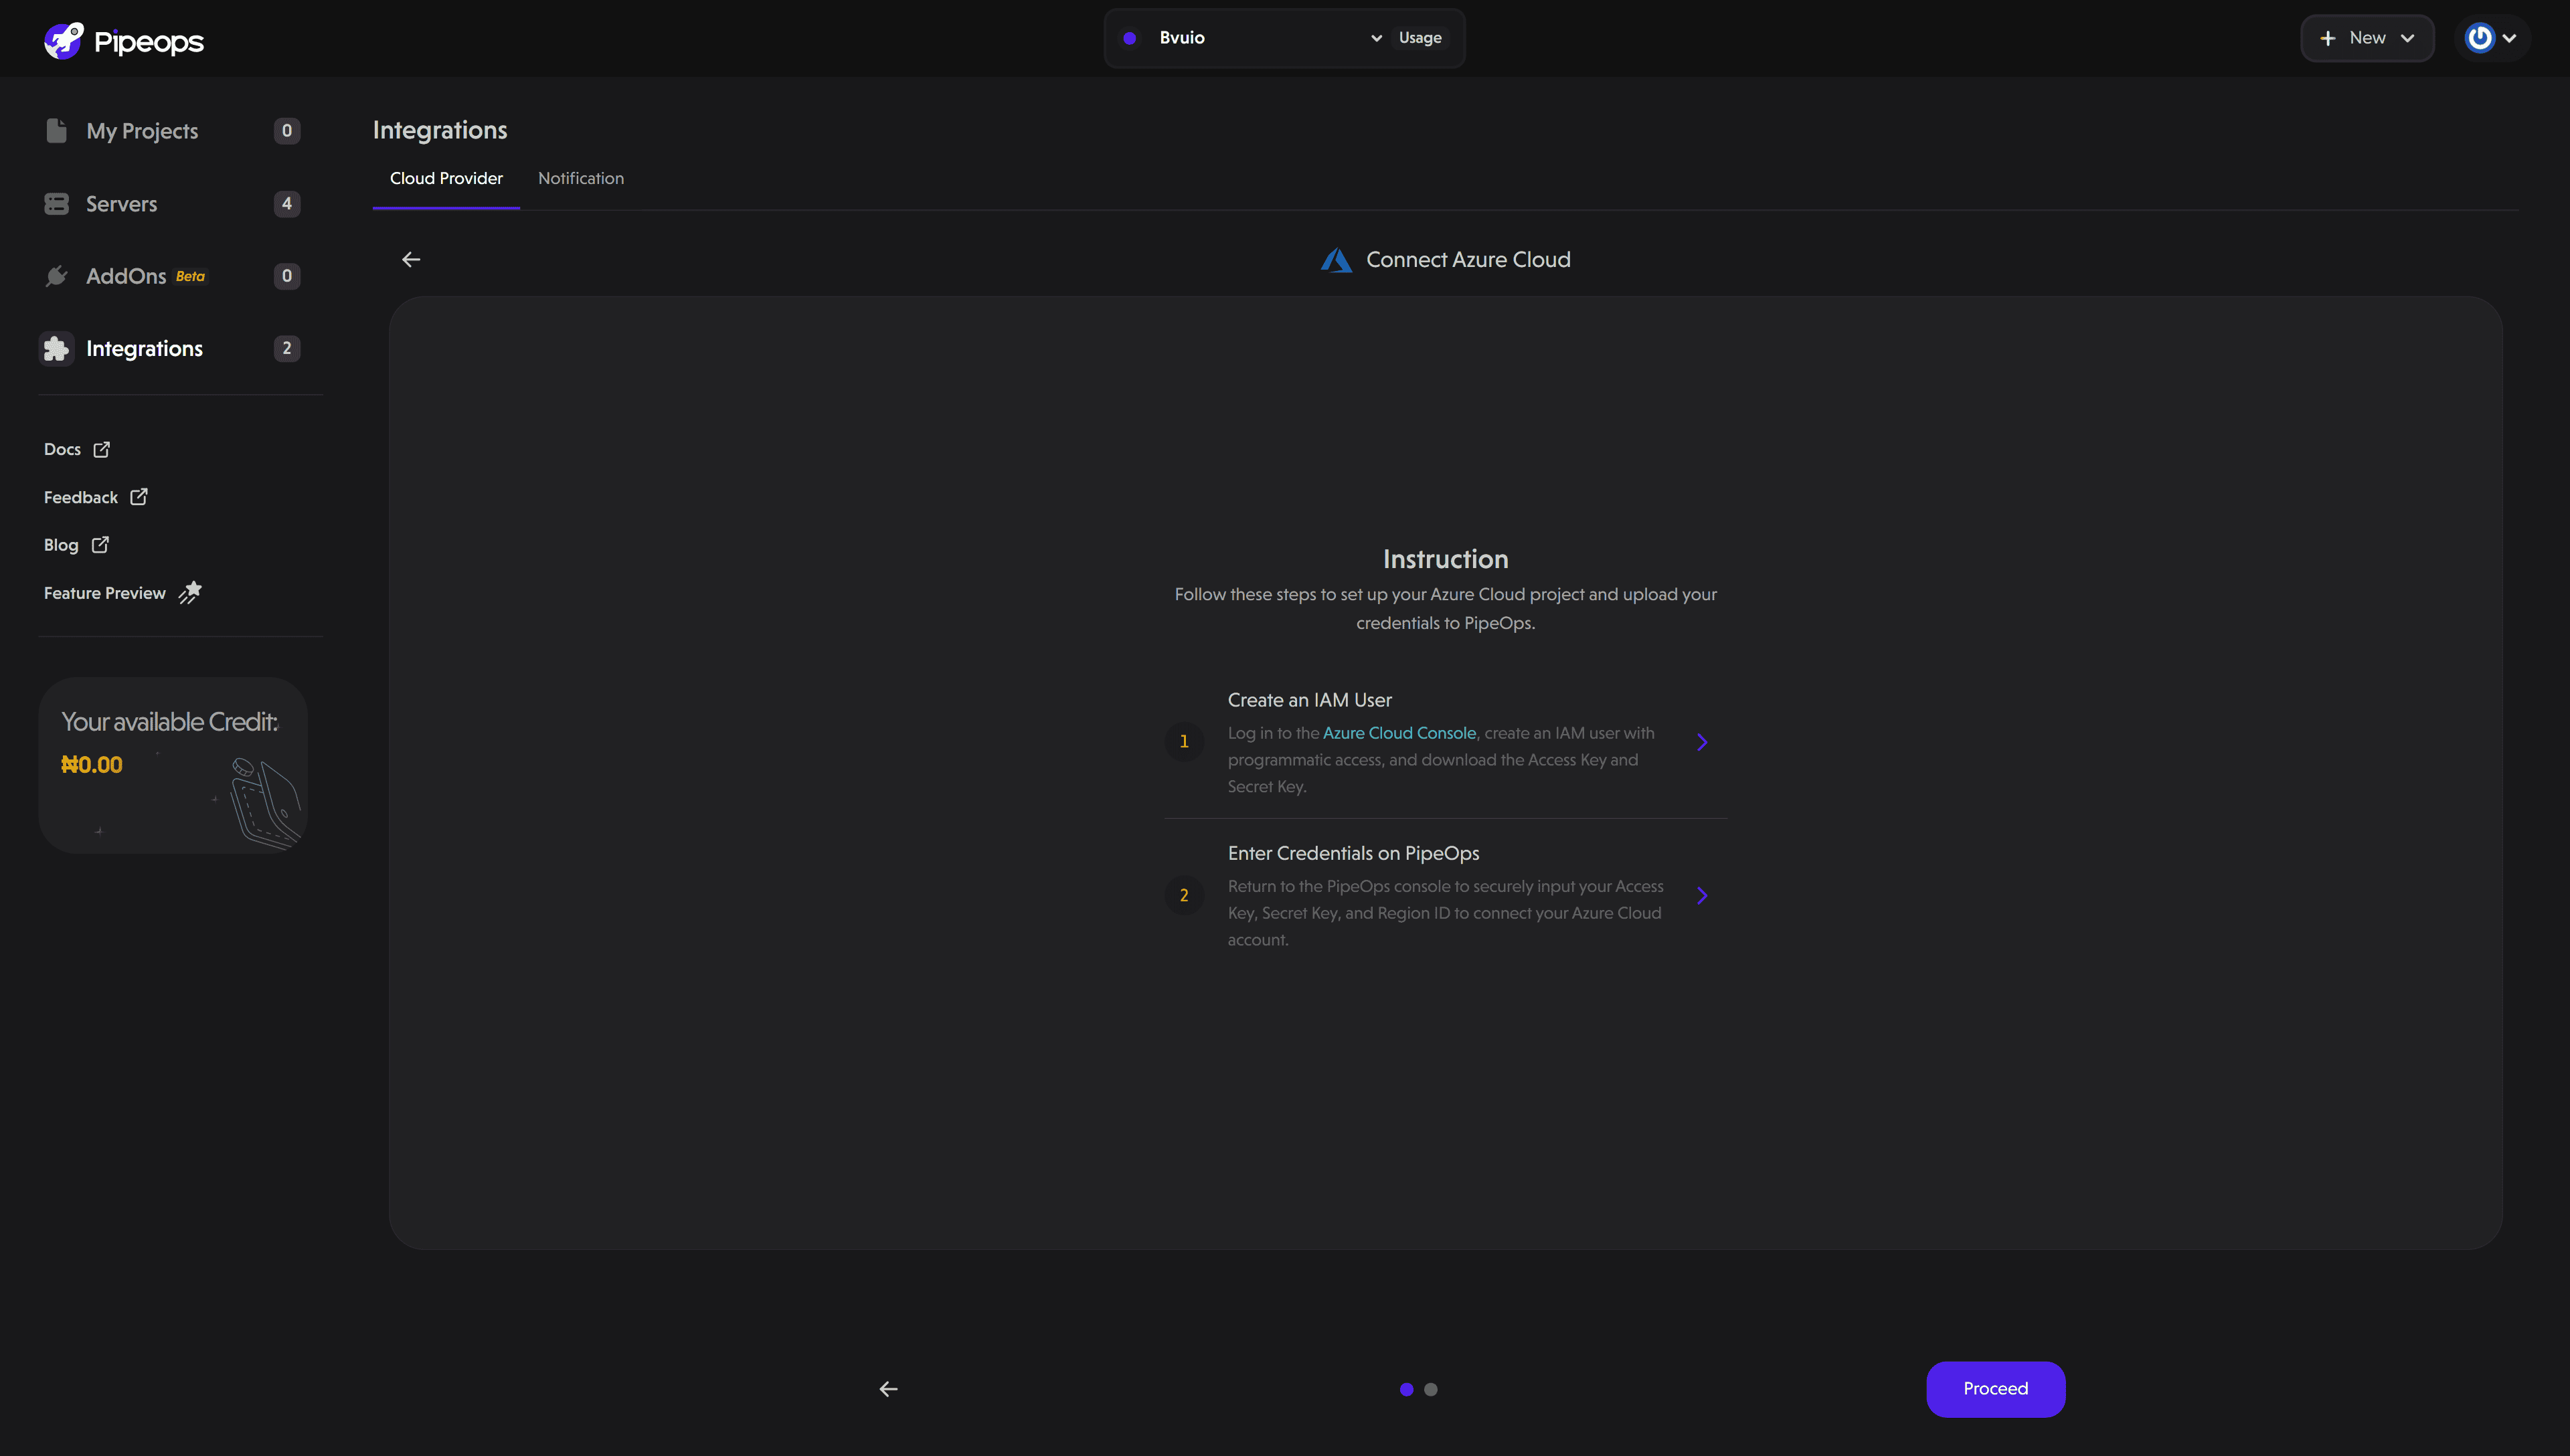
- An instruction screen appears, outlining the steps required to create your Azure credentials. You can follow this guide here for a detailed walkthrough.
- On the "Enter Access Credentials" screen, you can provide an optional name to identify your Azure account. The optional field is useful in scenarios where you want to connect more than one Azure account on PipeOps.
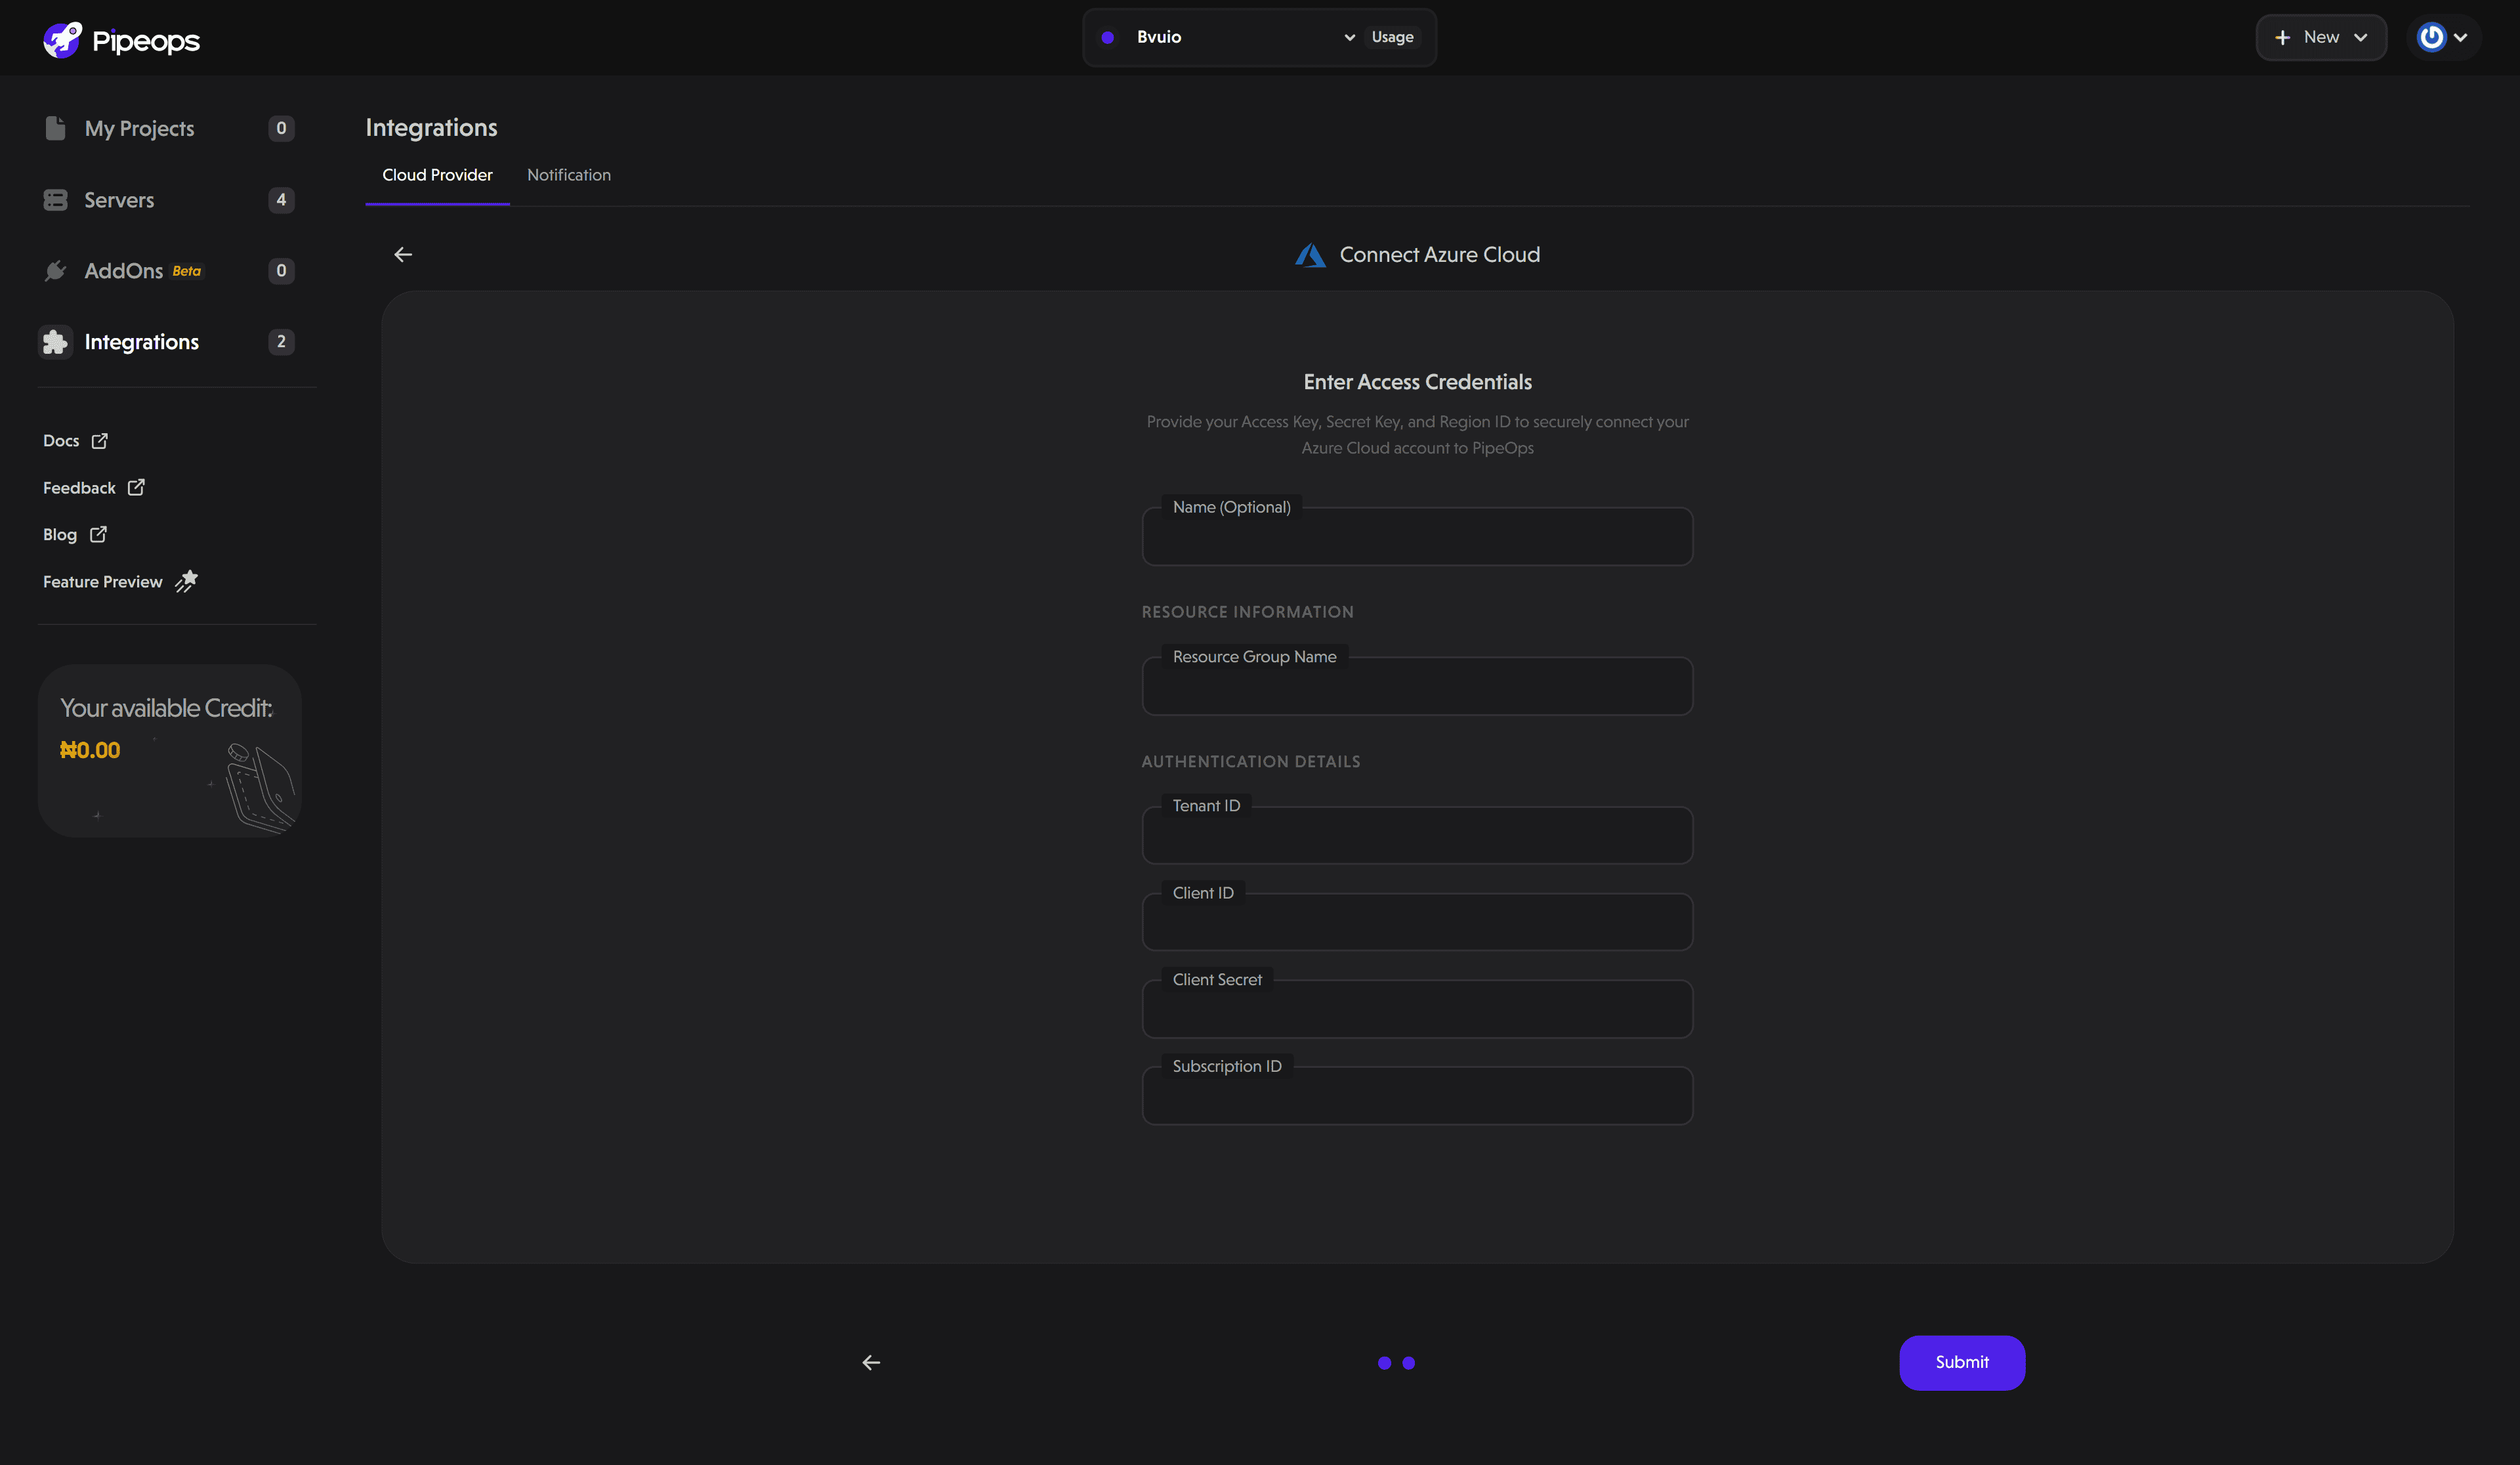
Fill in the required fields with your credentials:
- Resource Group Name
- Tenant ID
- Client ID
- Client Secret
- Subscription ID
- Click the submit button. If the credentials are correct, PipeOps will successfully integrate with Azure.
Now that you've connected your Azure account to PipeOps, you can create a server on your connected Azure account using this guide.