How to Deploy and Connect to RabbitMQ on PipeOps
RabbitMQ is an open-source message broker that facilitates reliable communication between services using a queue system. This guide walks you through deploying RabbitMQ on PipeOps, connecting an application to it, and verifying the connection works as expected.
Deploy RabbitMQ
- Navigate to your PipeOps dashboard and select AddOns from the sidebar navigation menu.
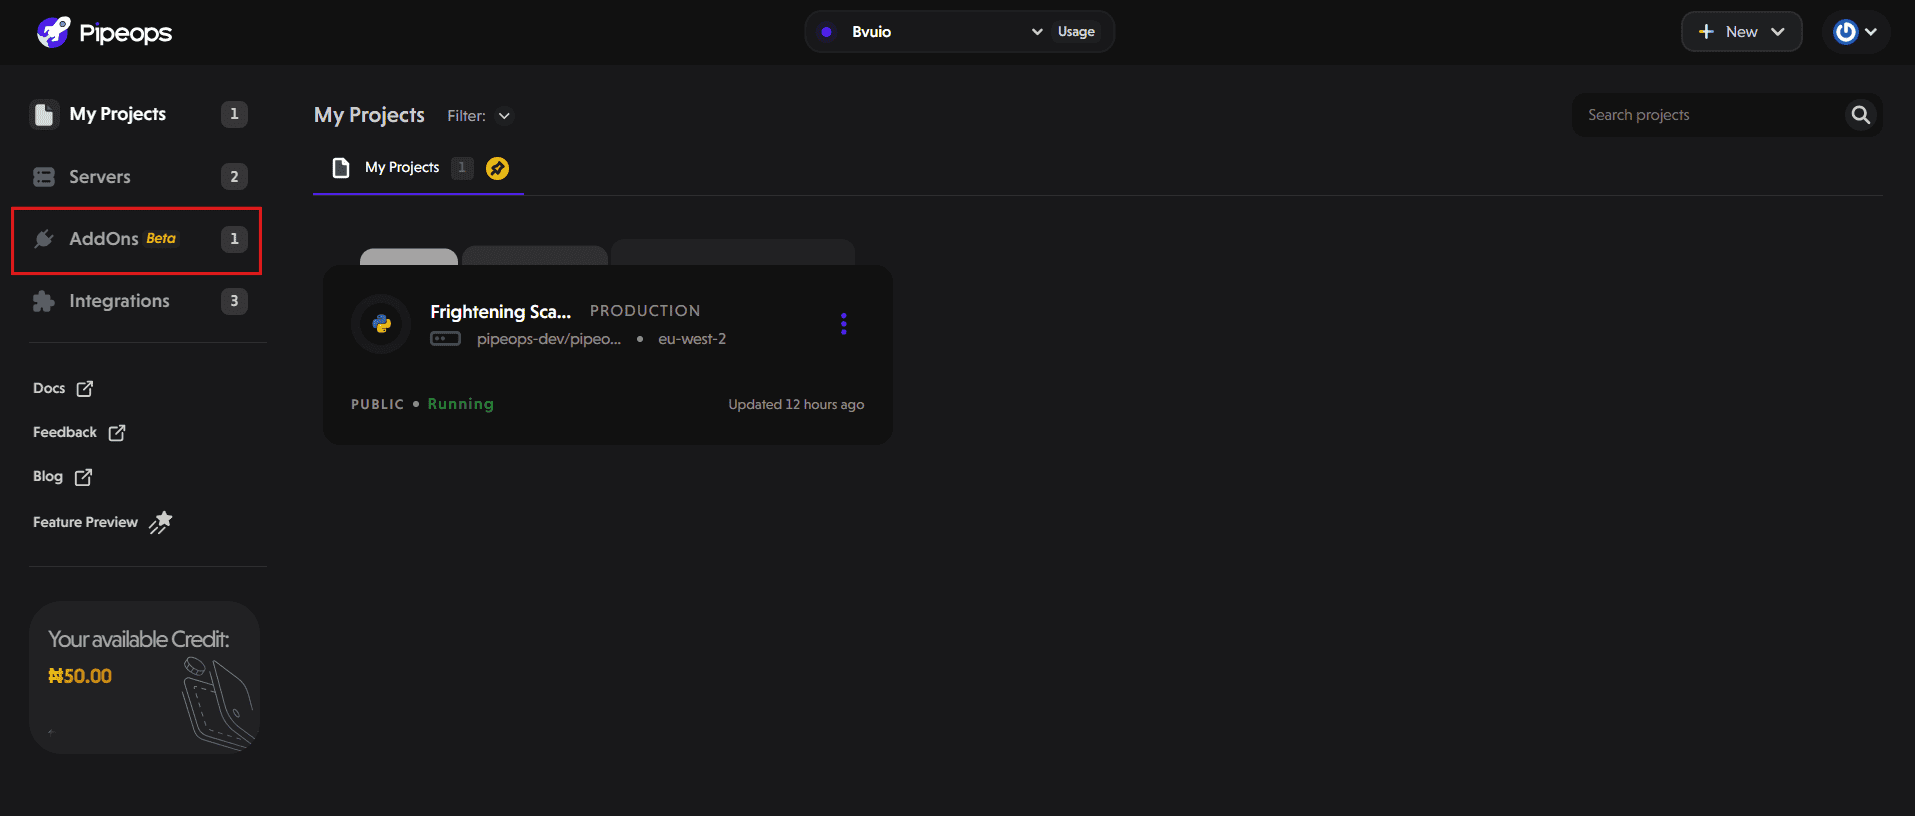
- Select RabbitMQ from the addon marketplace. If it’s not immediately visible, use the search bar.

-
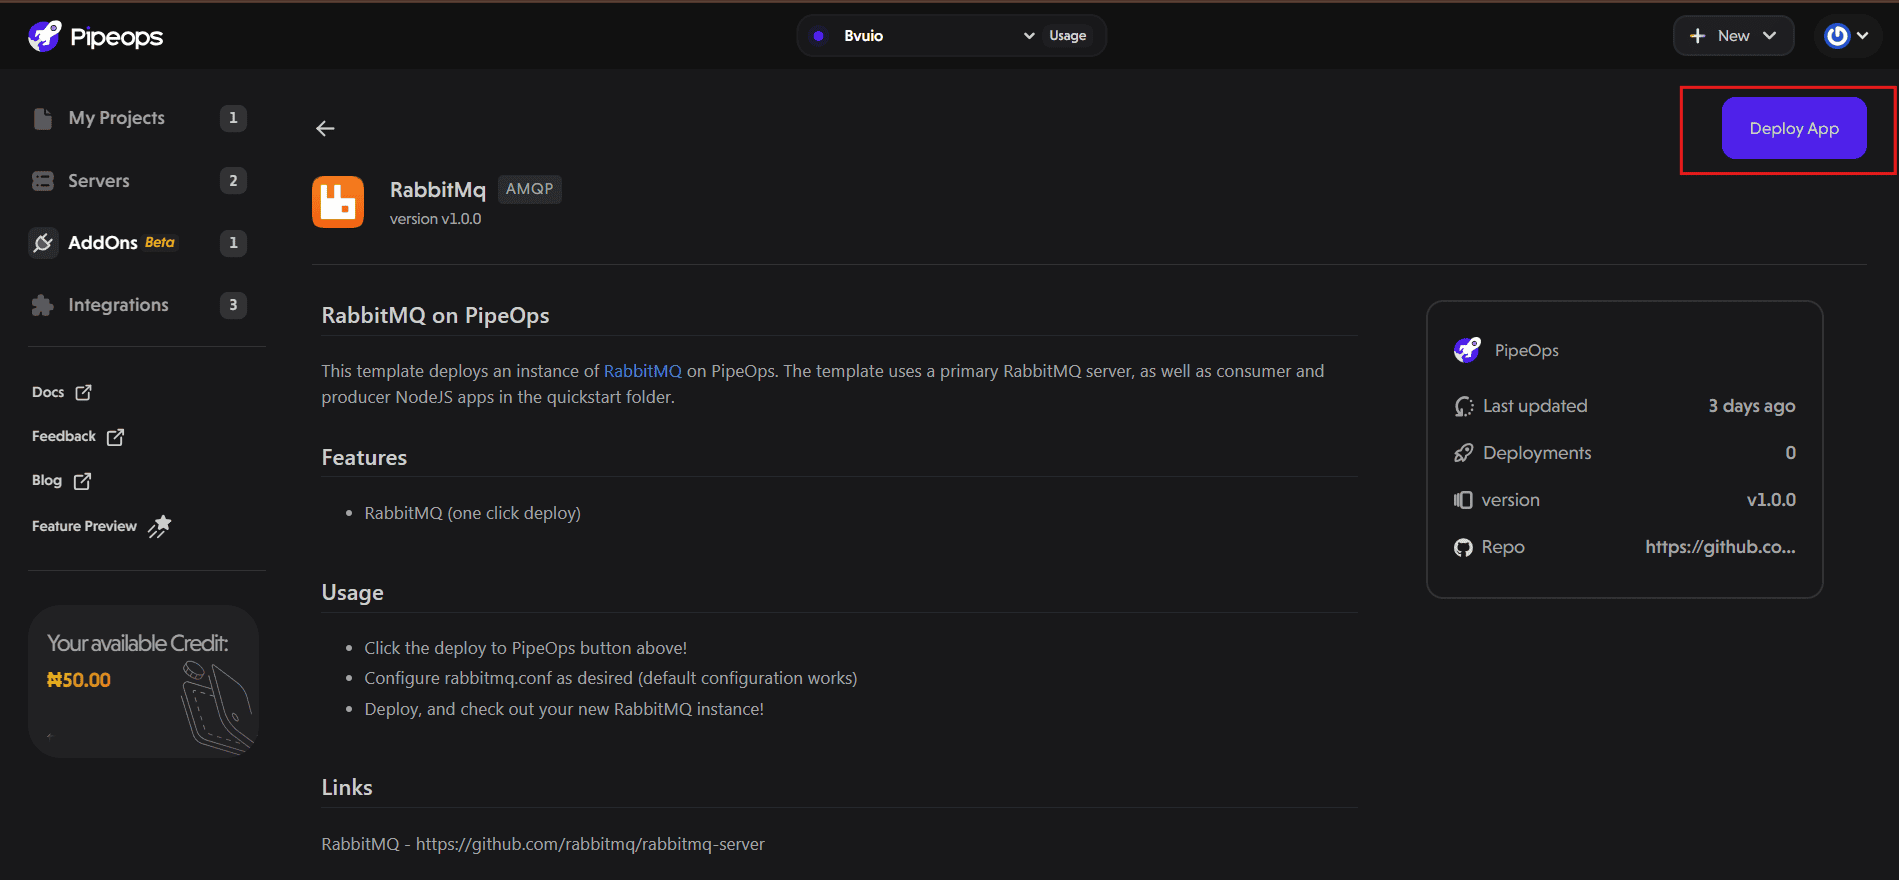
On the RabbitMQ details page, click the Deploy App button at the top right. You’ll be taken to the configuration page.
-
Click "Deploy" to launch the RabbitMQ instance.
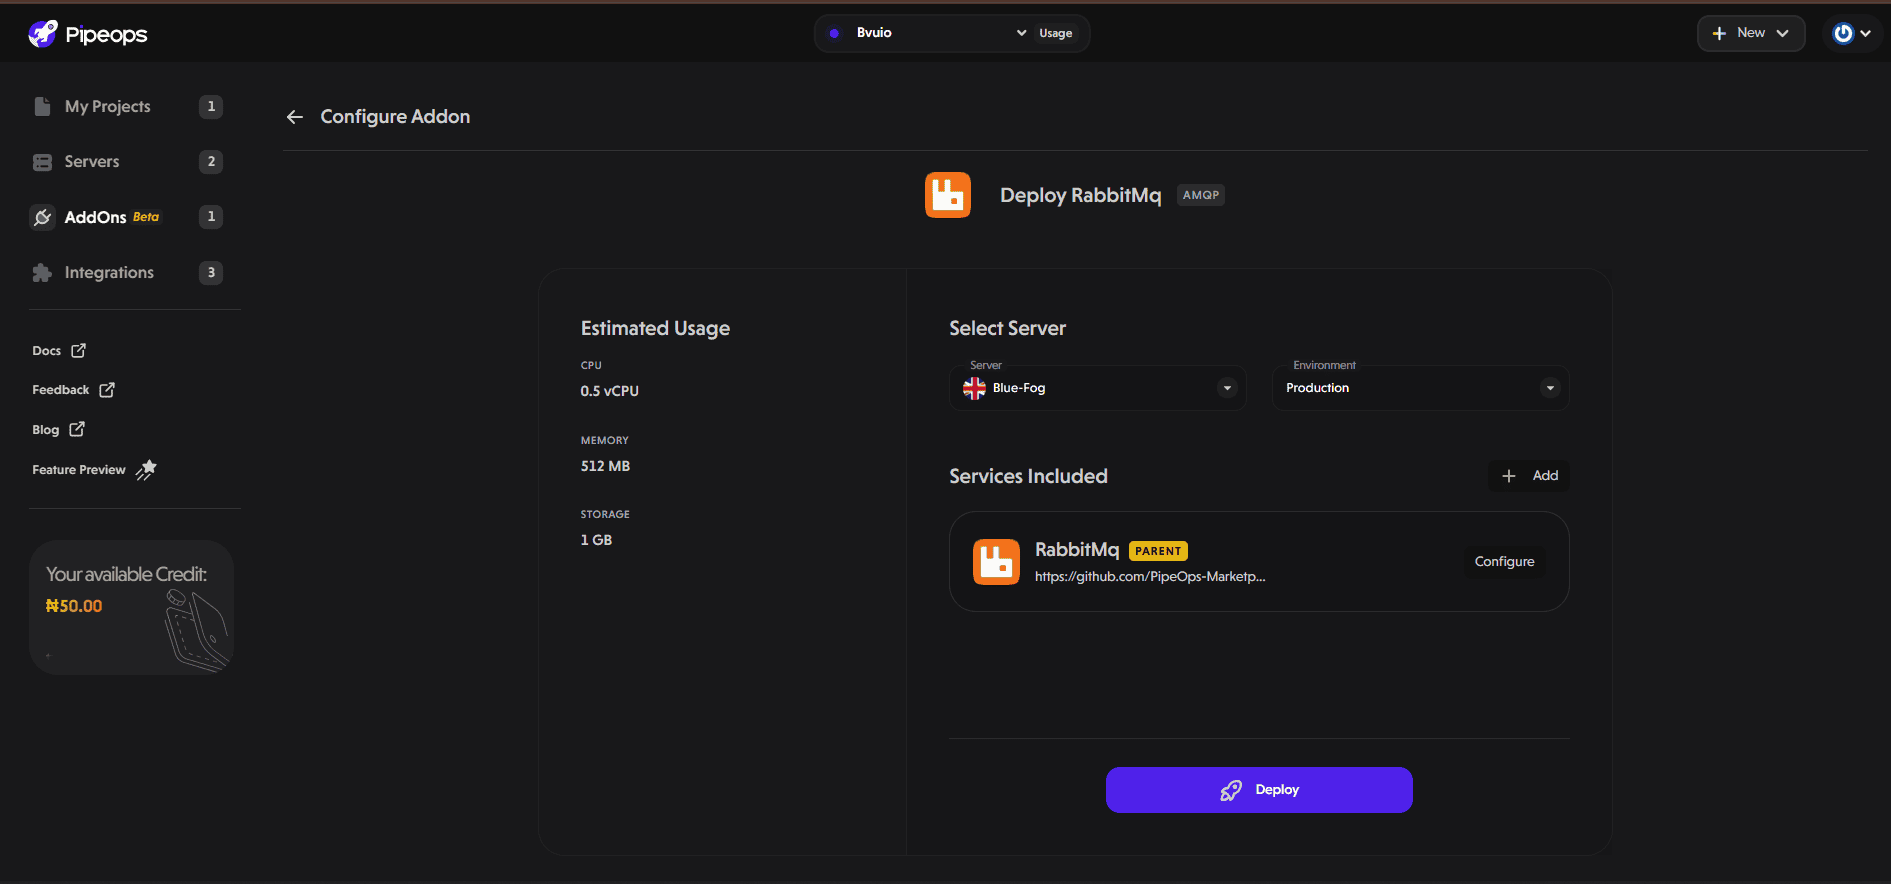
Wait for the instance to finish provisioning. This usually takes a few seconds.
Note: By default, the RabbitMQ instance starts with minimal CPU and memory to save costs. If you ever feel like your RabbitMQ is slow you can increase the resource (CPU cores and memory) from the AddOn settings tab.
Retrieve RabbitMQ Credentials
Once the RabbitMQ instance is running:
-
Go to Addons → Select your RabbitMQ instance.
-
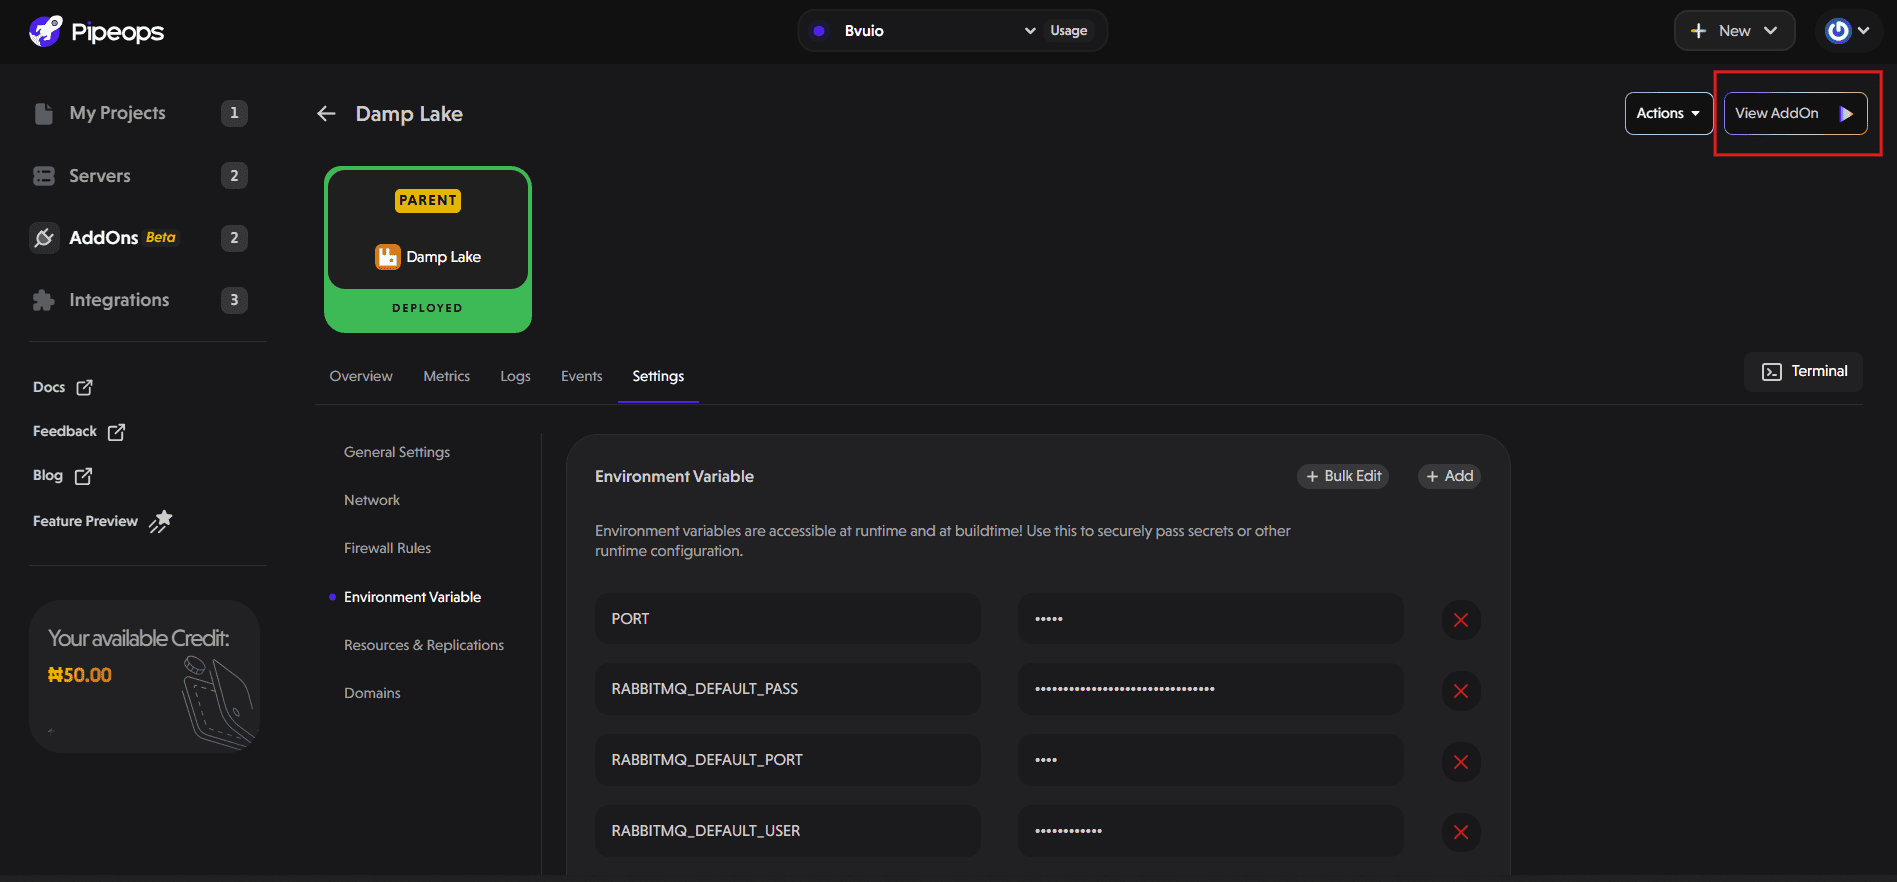
Click on the Settings tab and select Environment Variables.
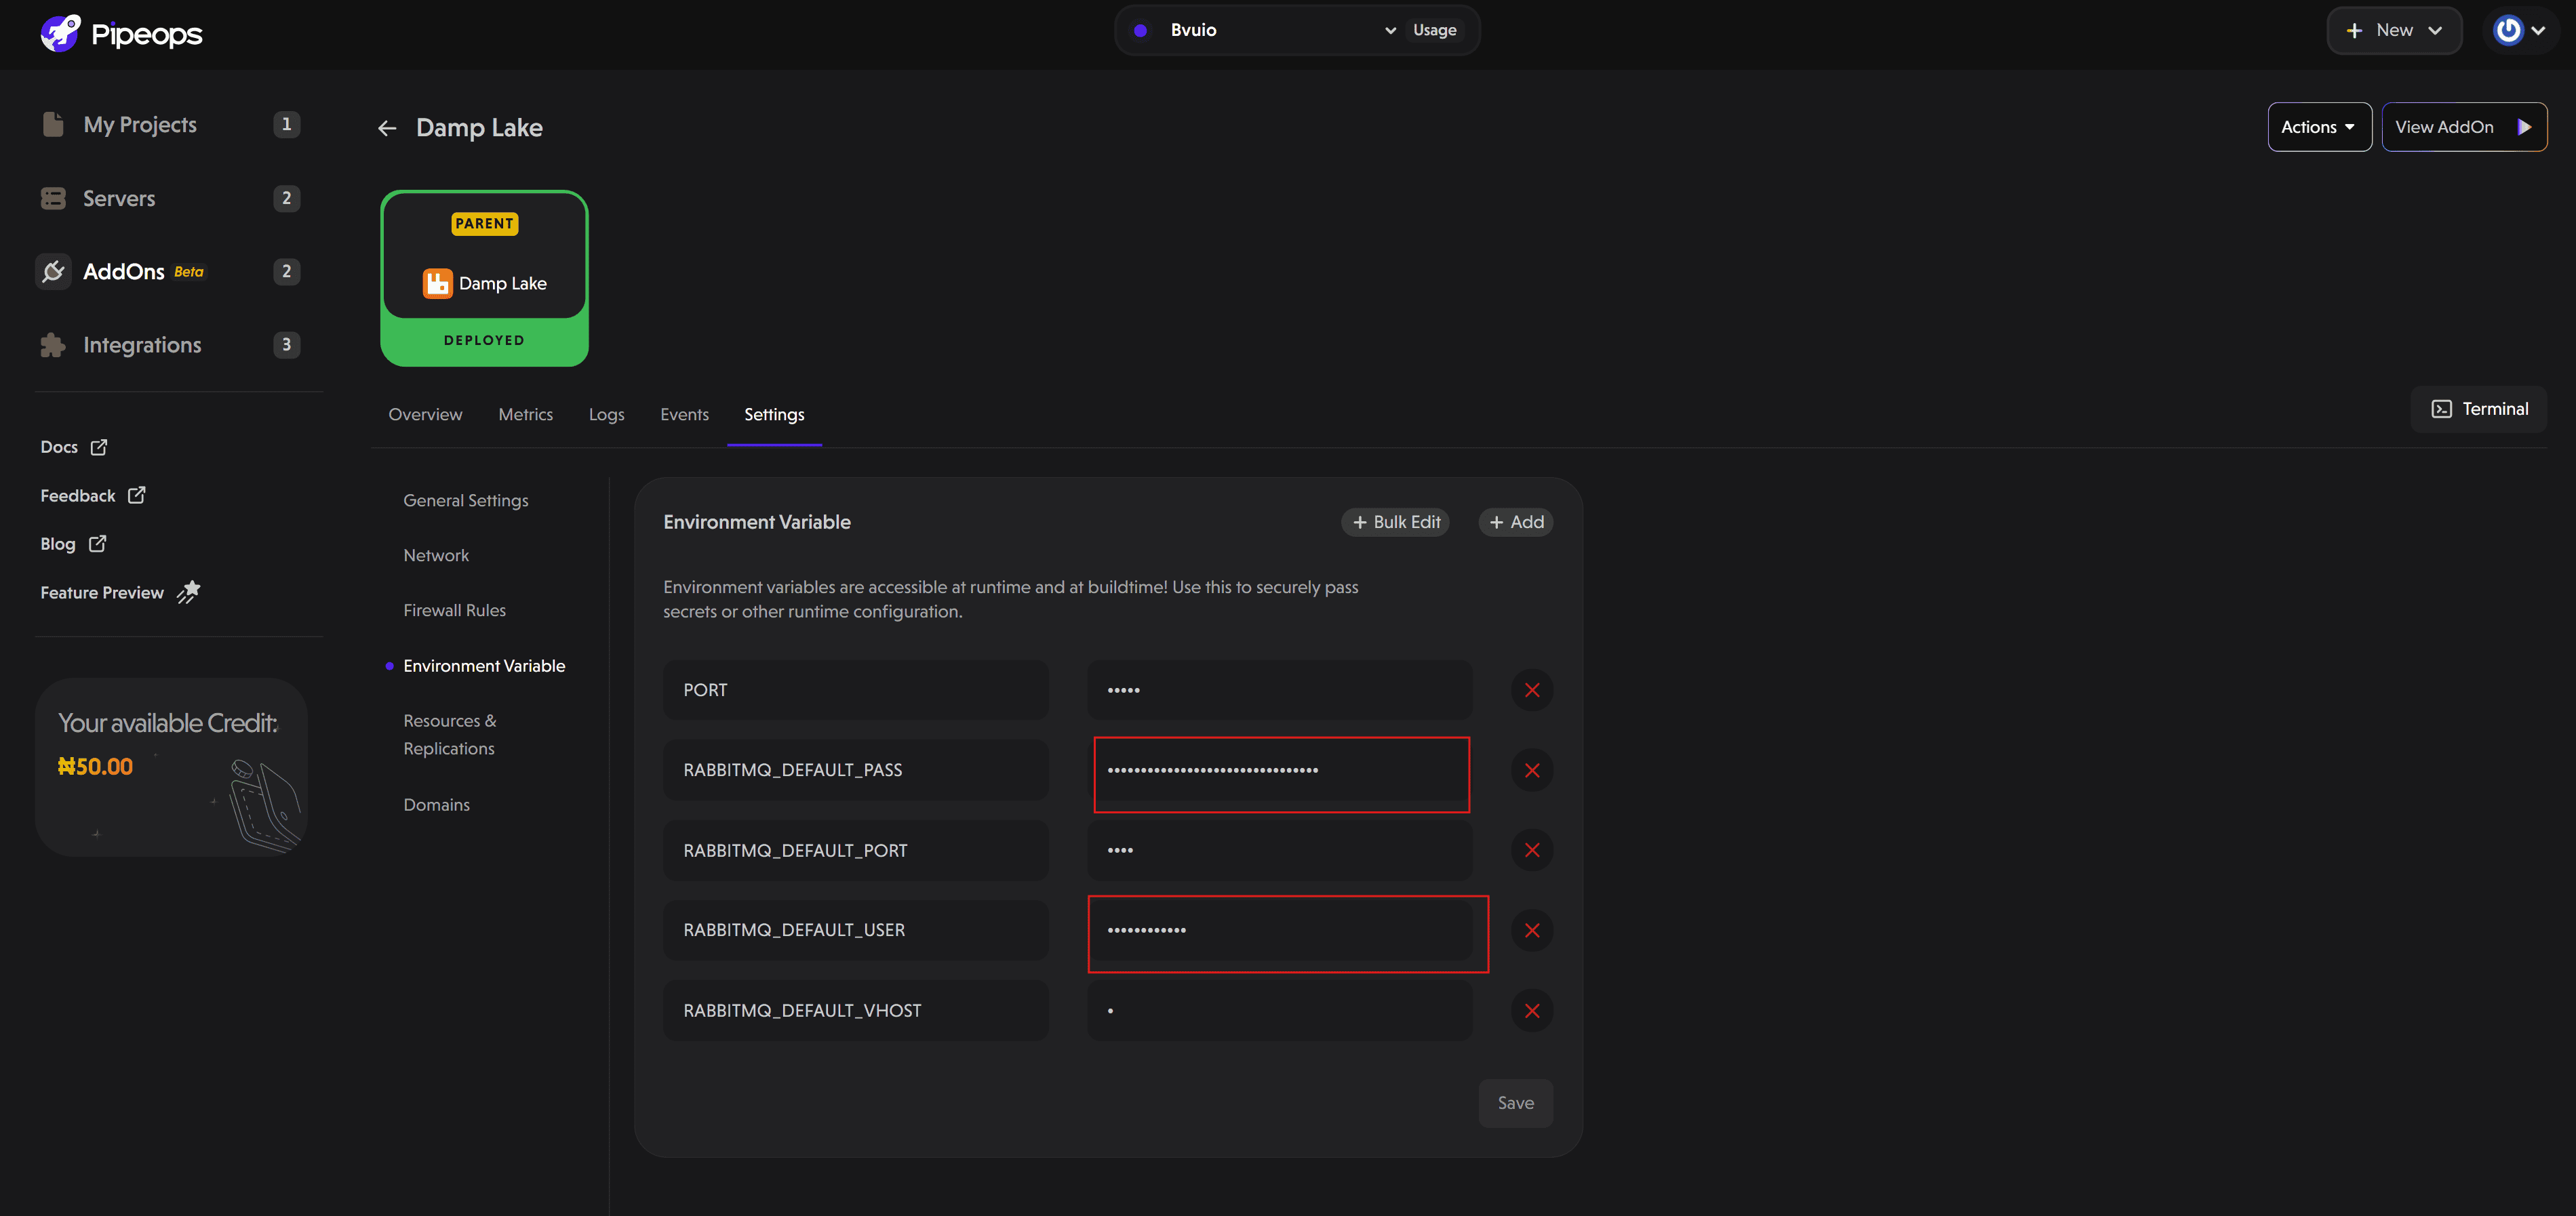
Copy the values for the following variables:
-
RABBITMQ_DEFAULT_USER -
RABBITMQ_DEFAULT_PASS
You’ll use these to log in to the RabbitMQ instance.
Access the RabbitMQ Dashboard
Click the "View Addon" button to open your RabbitMQ dashboard.

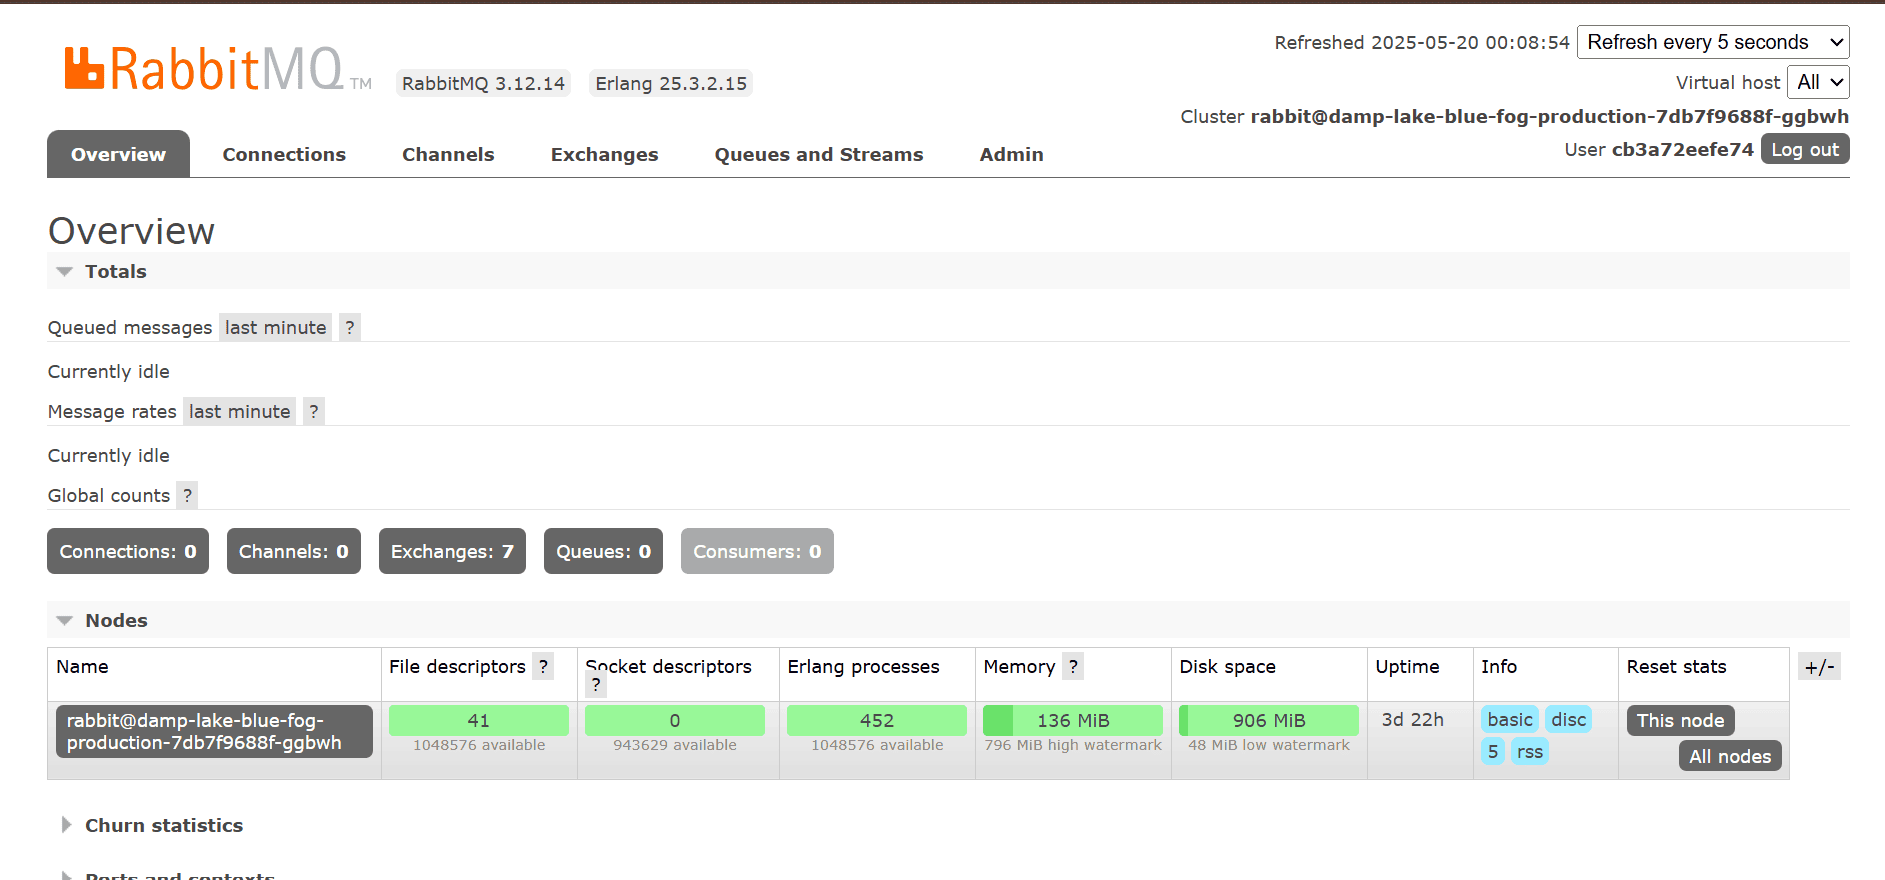
Use the default username and password from the previous step to log in.
You should now see an empty RabbitMQ dashboard with no queues or connections yet.
Deploy Your Application
Deploy your application that will communicate with RabbitMQ. For this guide, we're deploying a Go project that acts as both a consumer and a publisher for RabbitMQ.
Upon receiving the RabbitMQ URL, the application connects to it, declares a queue to ensure it exists, creates a consumer to listen for incoming messages, and begins publishing messages to that queue.
Follow these steps to deploy your application:
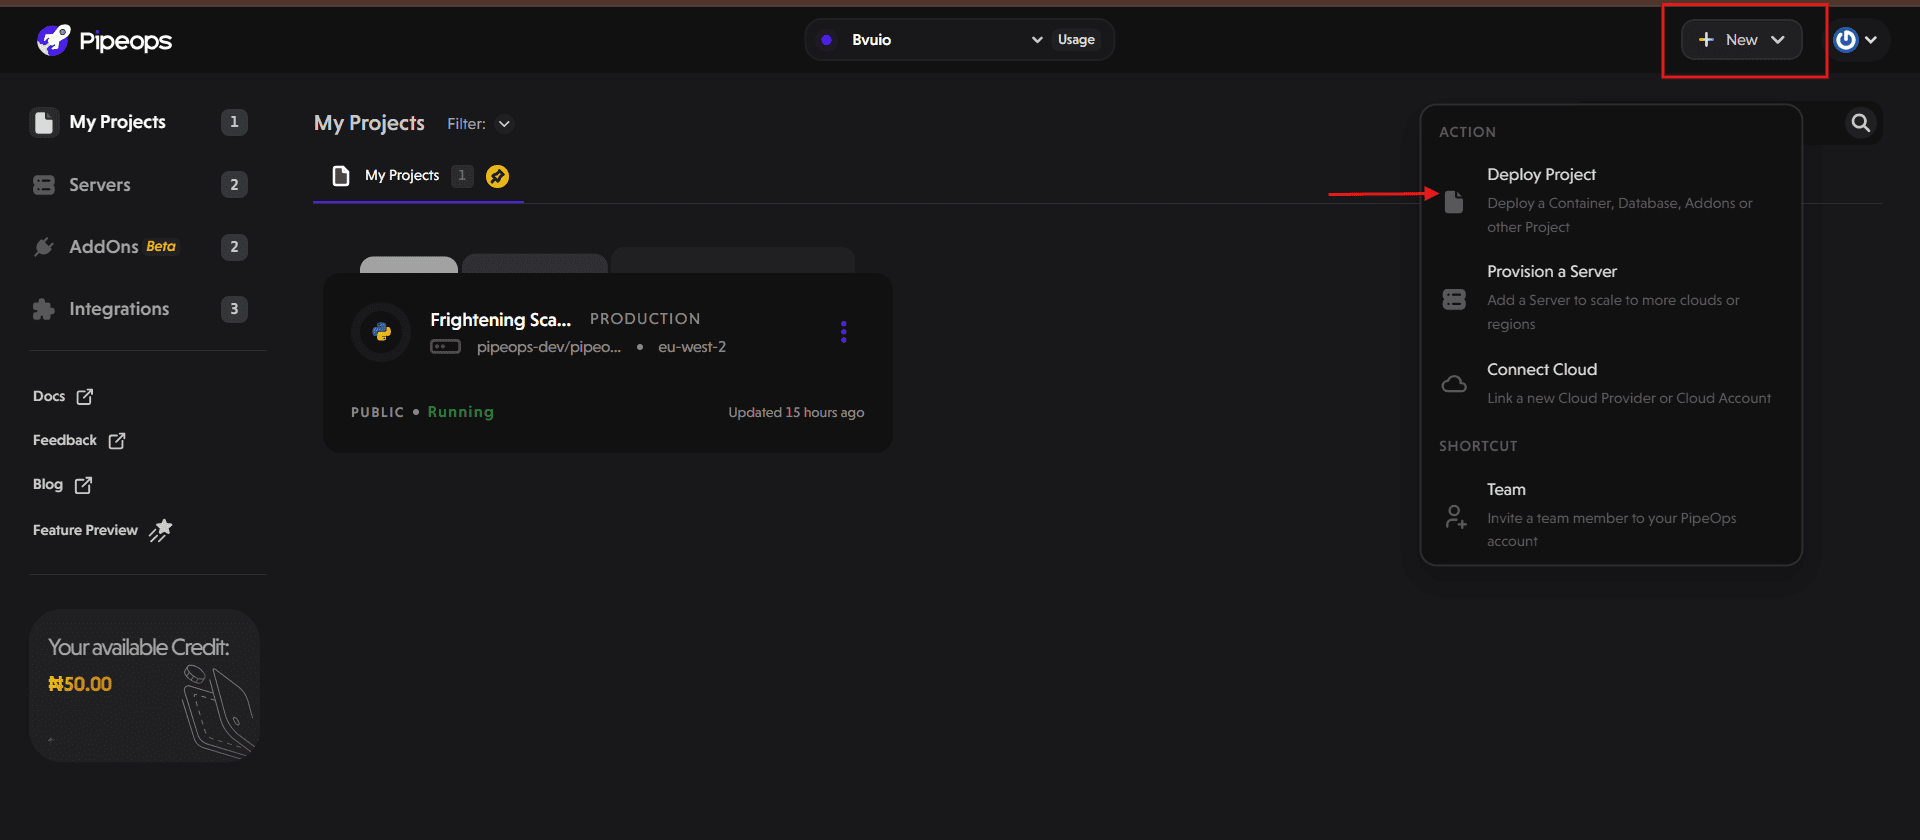
- Click the "+ New" button at the top right of your dashboard. Select "Deploy Project" from the dropdown and choose your project type.
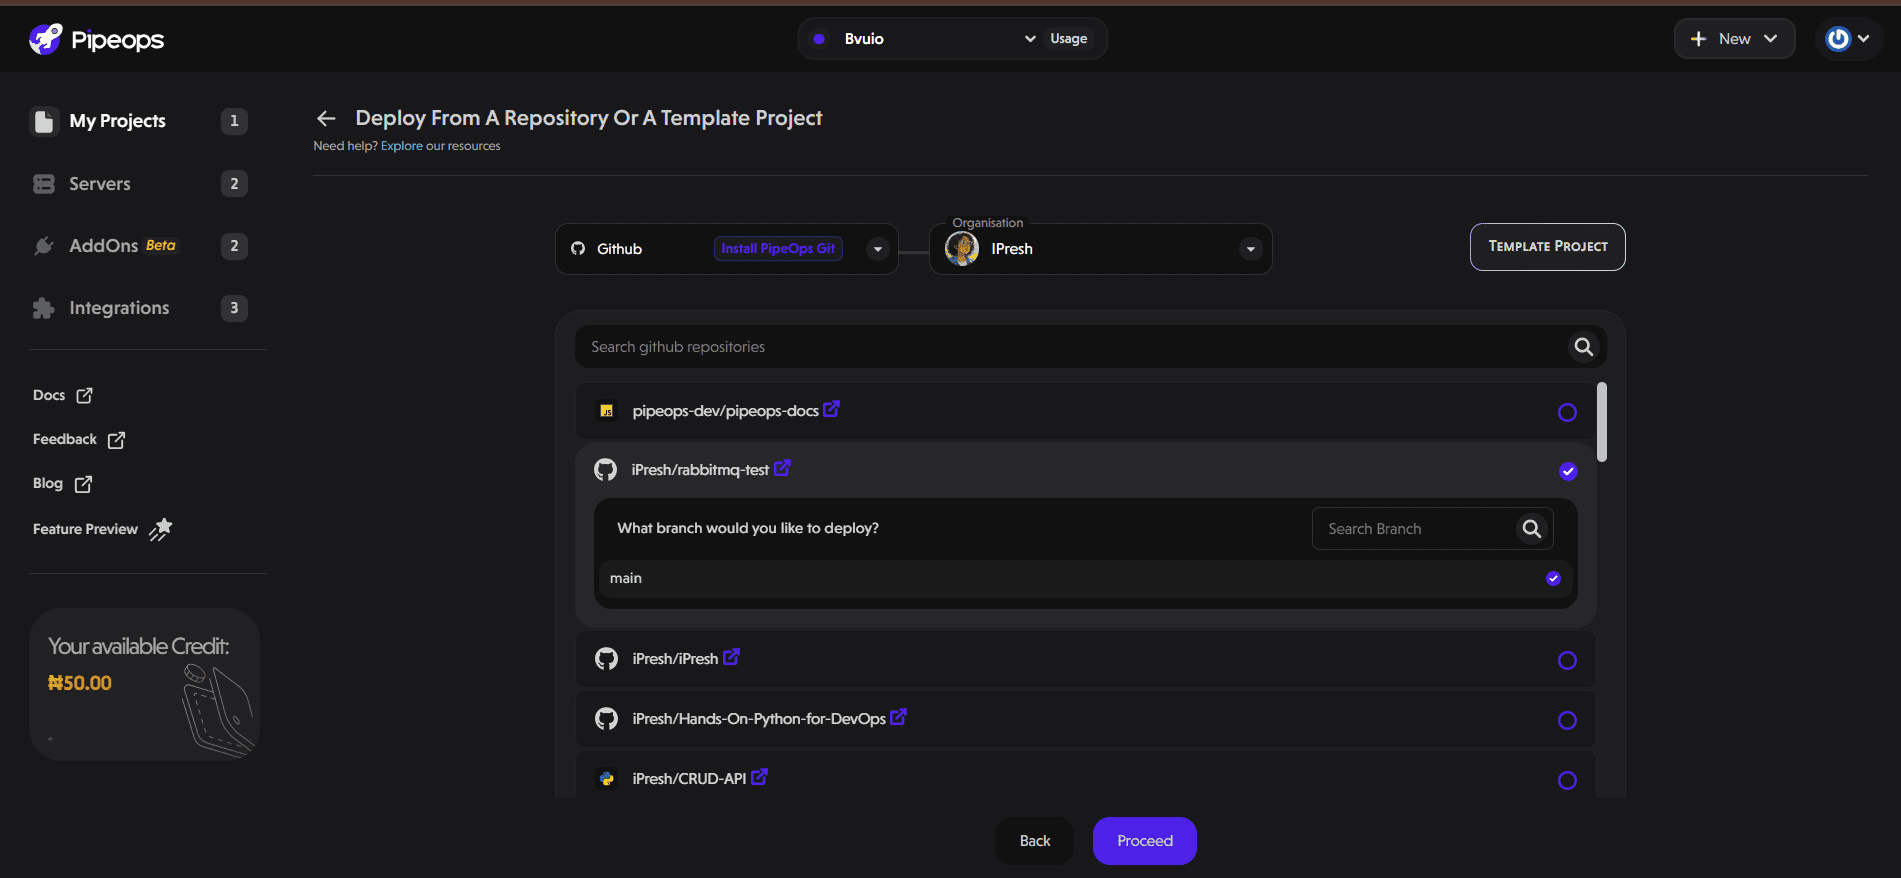
- Next, select your repository and the branch you'll deploy from. Click "Proceed" to continue. Ensure that the application is deployed on the same server as the RabbitMQ instance for internal communication to work.
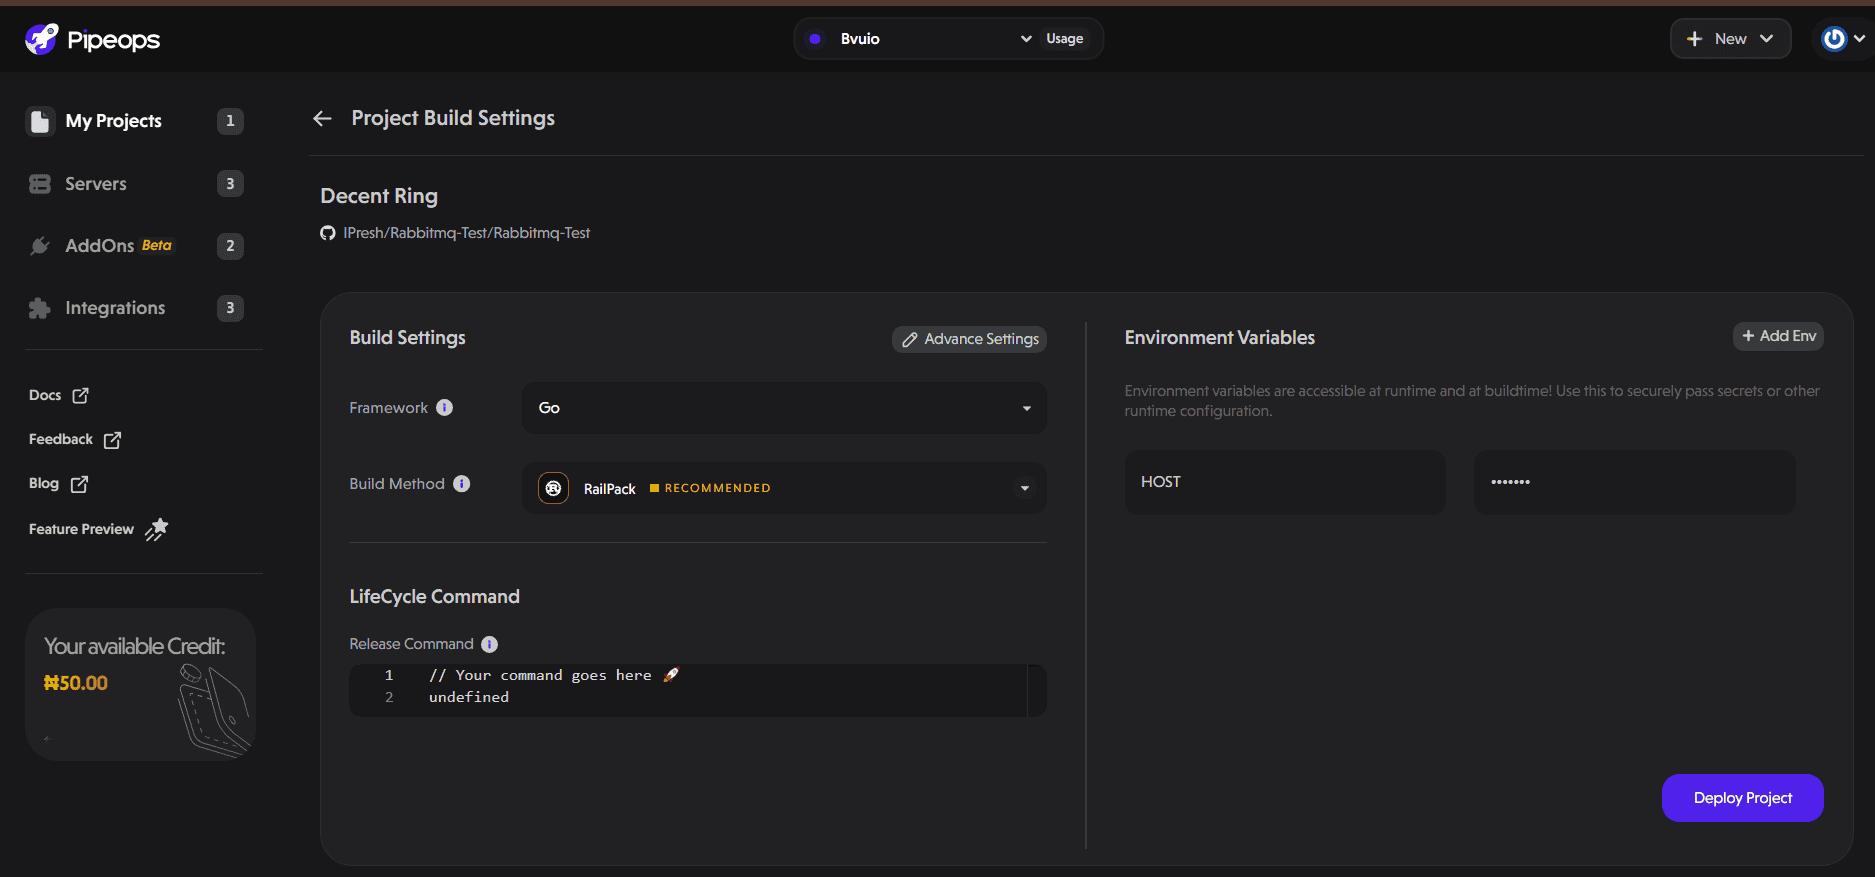
- On the Project Build Settings page, select your framework and build method. Click "Deploy Project" to start the deployment process.
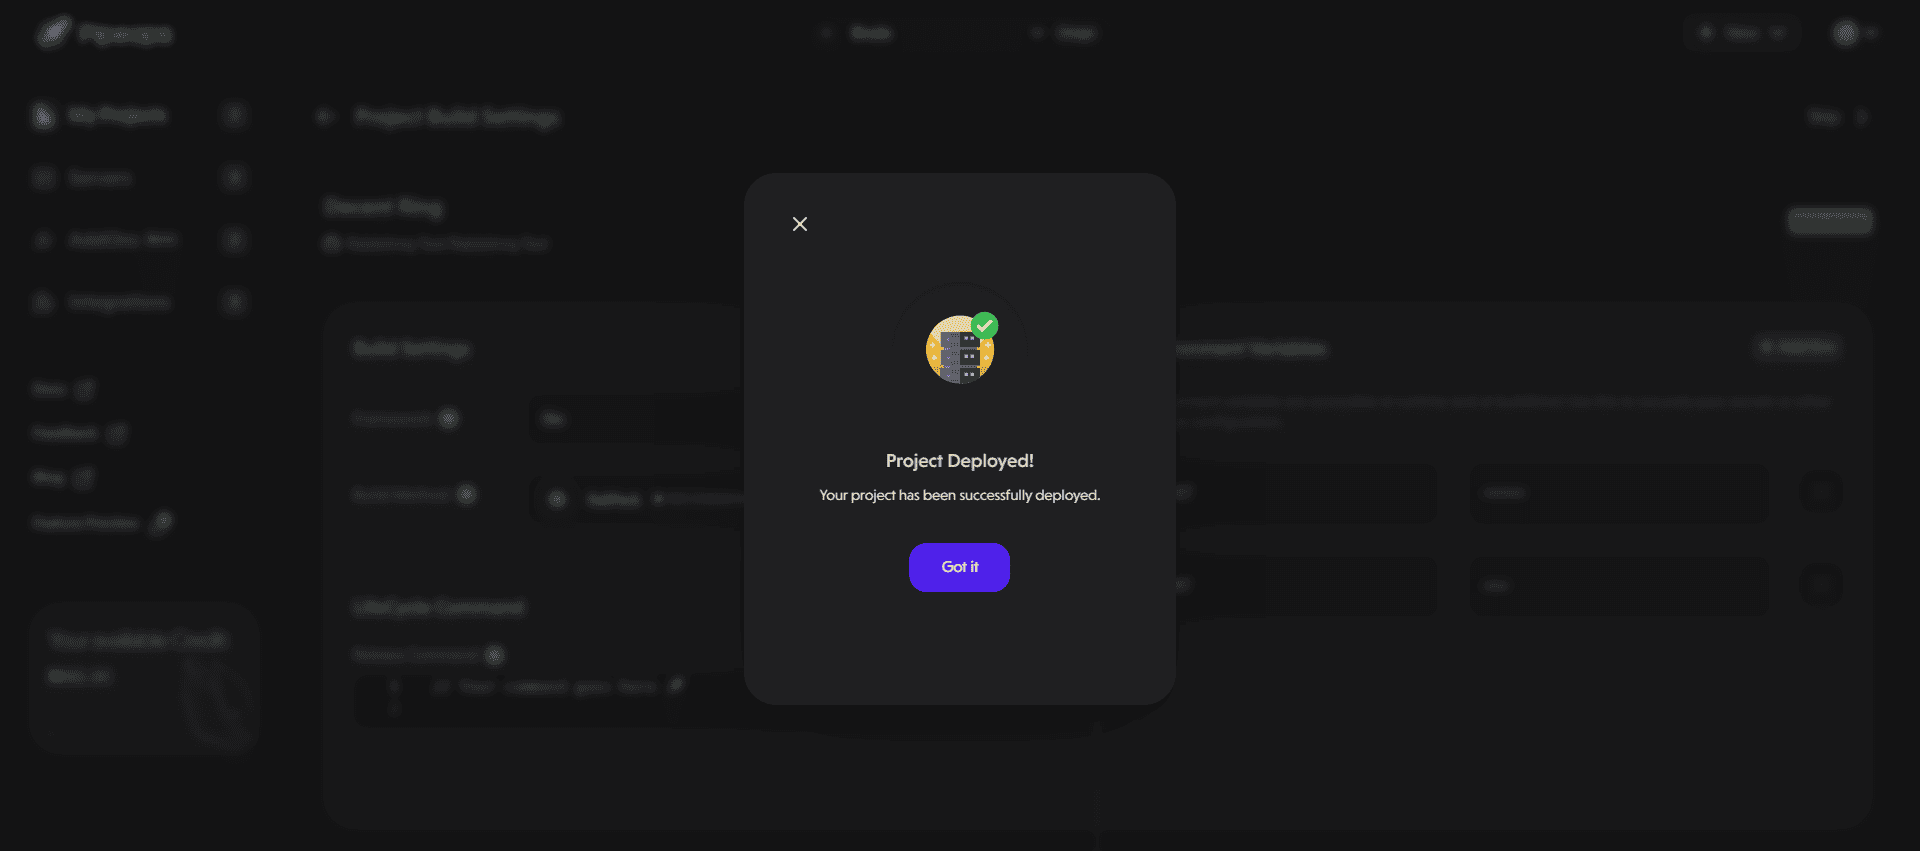
- If your project deploys successfully, a success modal appears as shown below.
Connect Your App to RabbitMQ
-
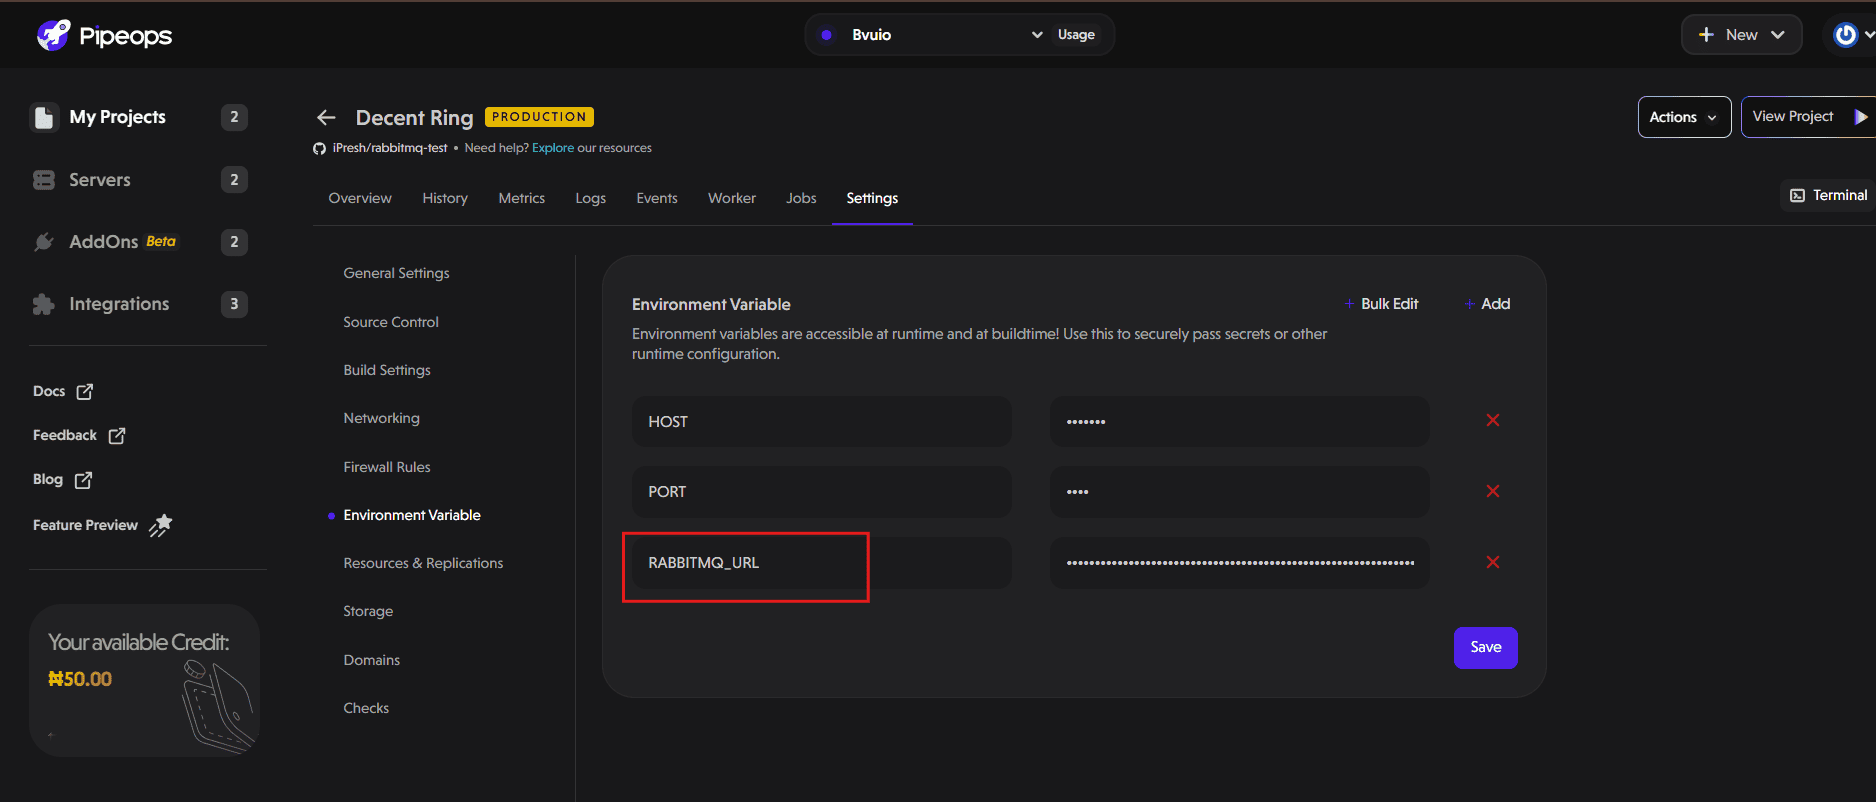
In your deployed project, navigate to Project Settings and click Environment Variables.
-
Add a new variable:
-
Key: RABBITMQ_URL
-
Value:
amqp://{RABBITMQ_DEFAULT_USER}:{RABBITMQ_DEFAULT_PASS}@{addon-name}:5672
-
-
Replace {RABBITMQ_DEFAULT_USER}, {RABBITMQ_DEFAULT_PASS}, and {addon-name} with the actual values from your RabbitMQ addon settings. Your addon name is simply your service slug (abc-xy in abc-xy.antqube.io).
Example: amqp://cb3a72edfs74:a30e6136dcd21d90ad06f3067d50610c@damp-lake:5672
- Click Save and wait for the deployment to go live.
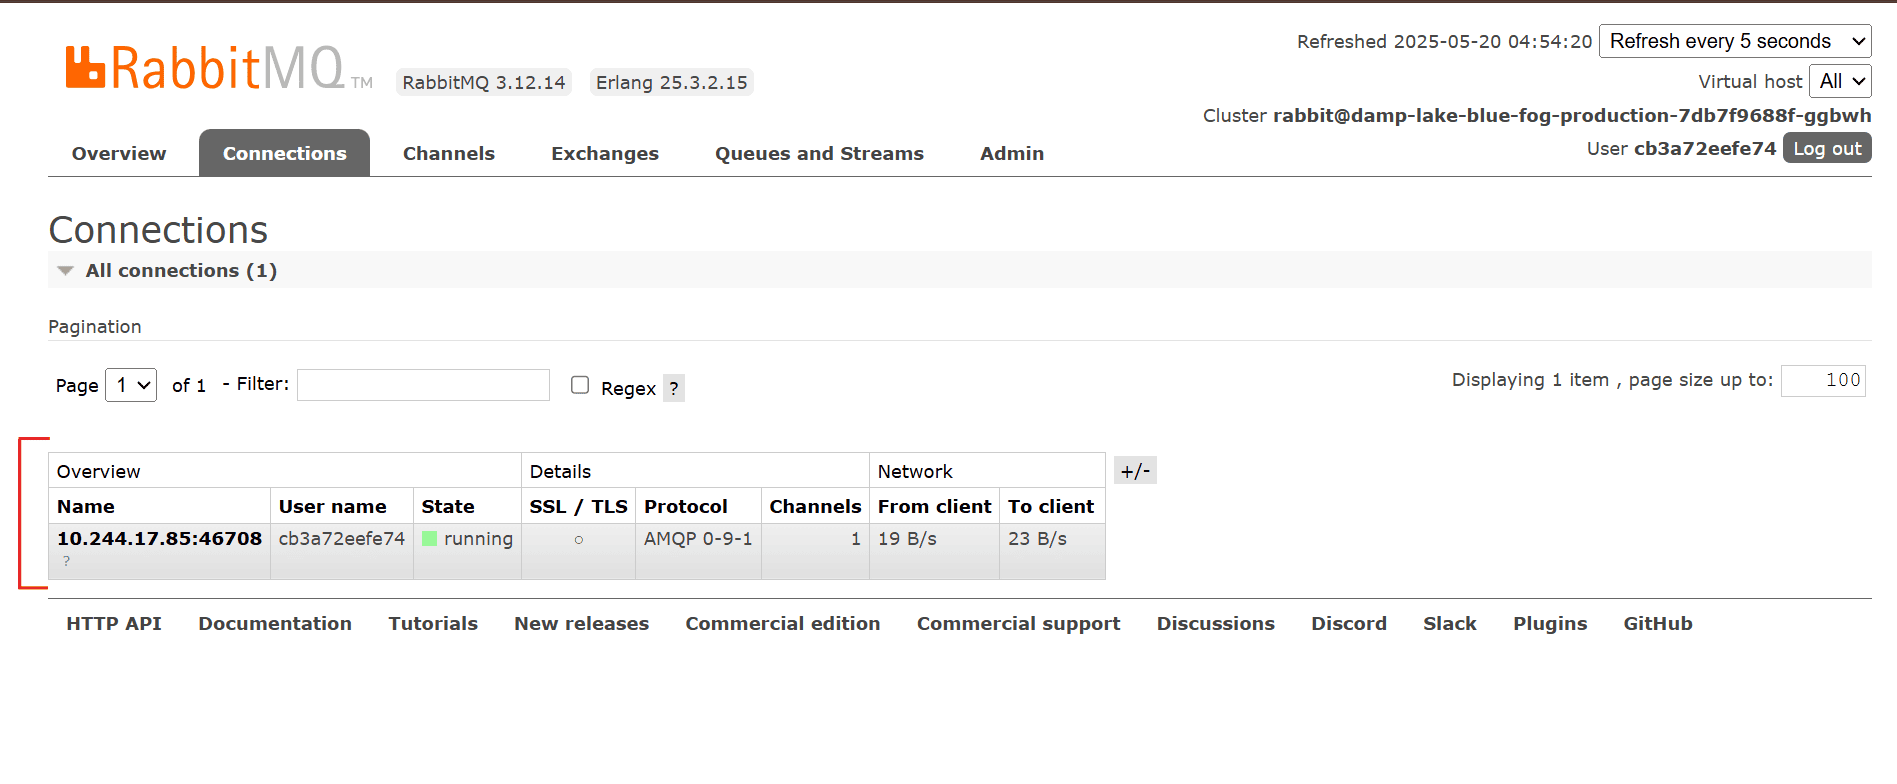
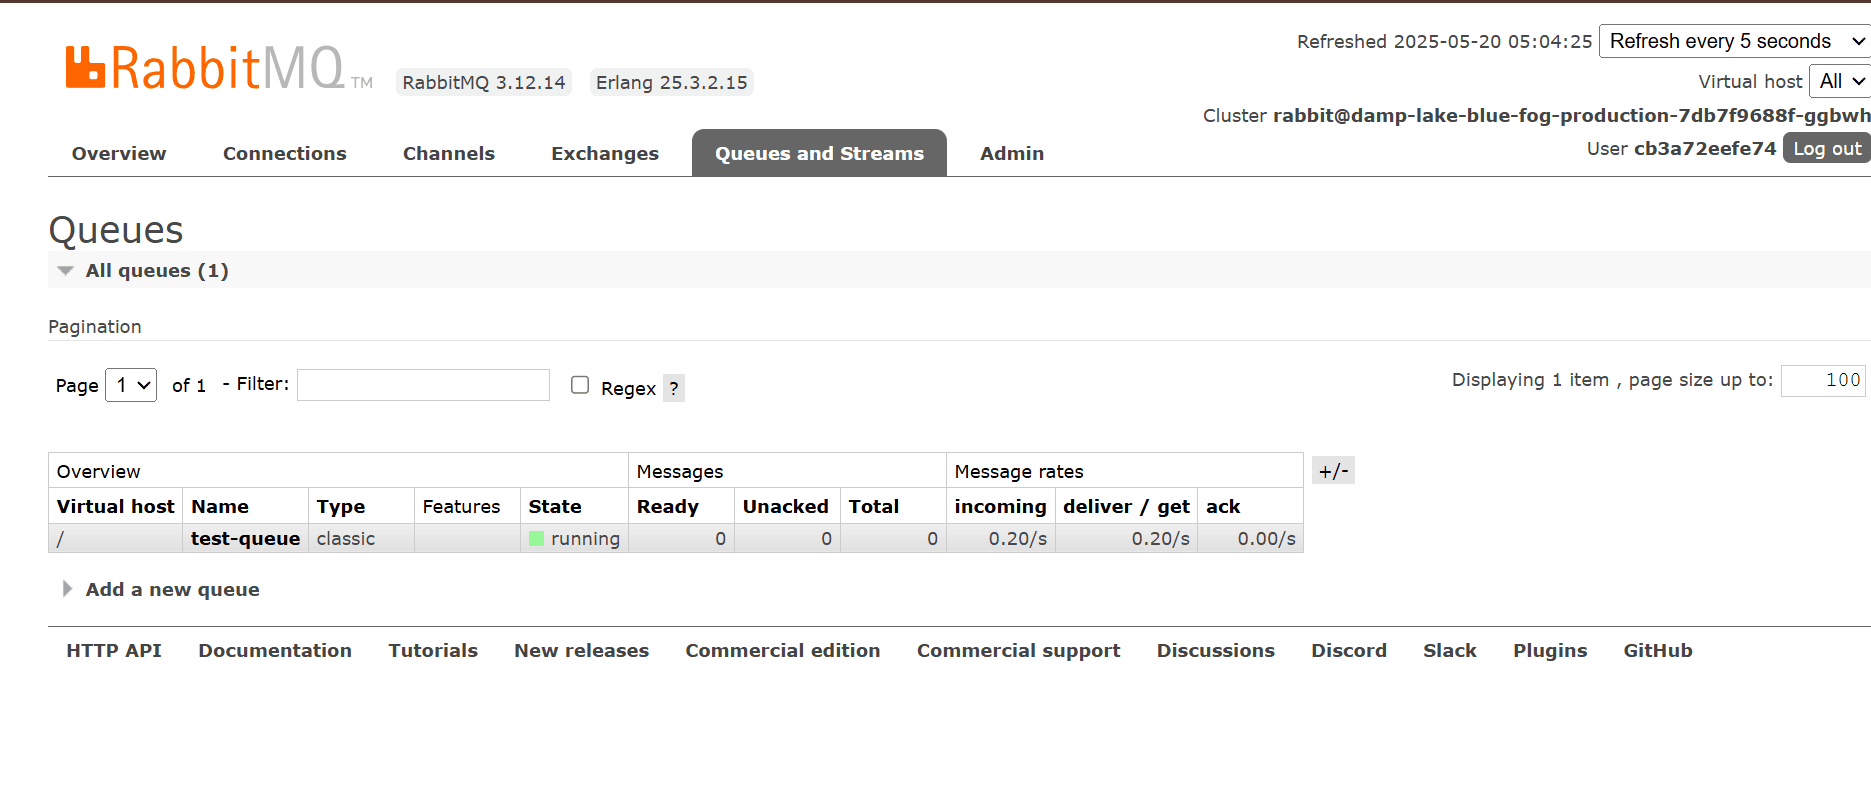
Once the environment variable is set and the app is redeployed, go back to the RabbitMQ dashboard. You should now see an active connection from your application to RabbitMQ and a queue created.
👍That's it. You’ve now successfully deployed RabbitMQ and connected to your application.